
The tables and seating feature set provides in-person events with limited Tables and Seating assignments and management.
Open the Tables Dashboard
From the main event dashboard, click Tickets in the left sidebar, then click Tables to open the Tables Dashboard.
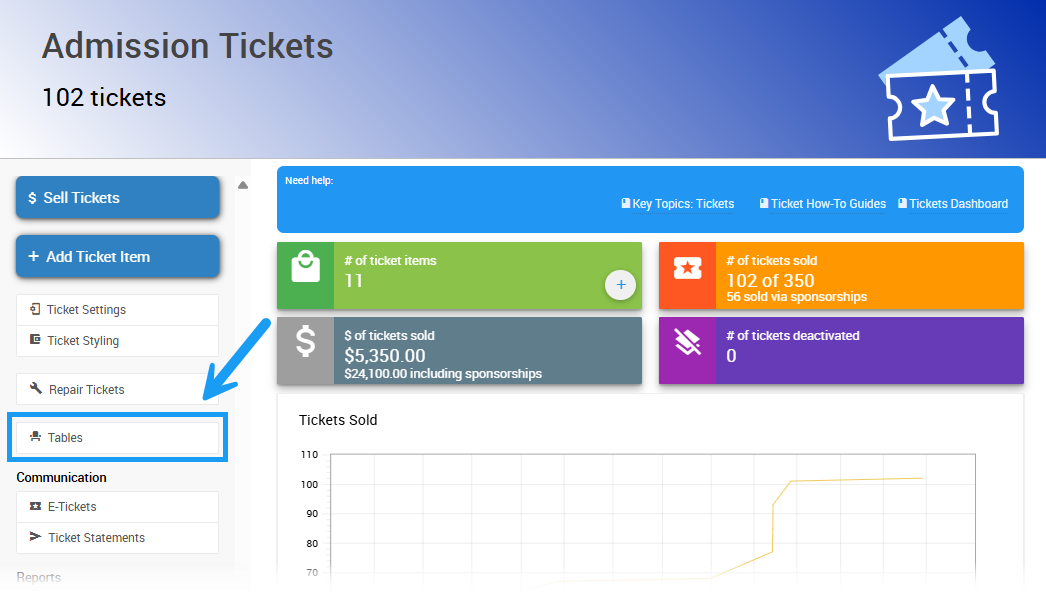
An example from a demonstration event.
From here, you can view and manage all of your event's tables.
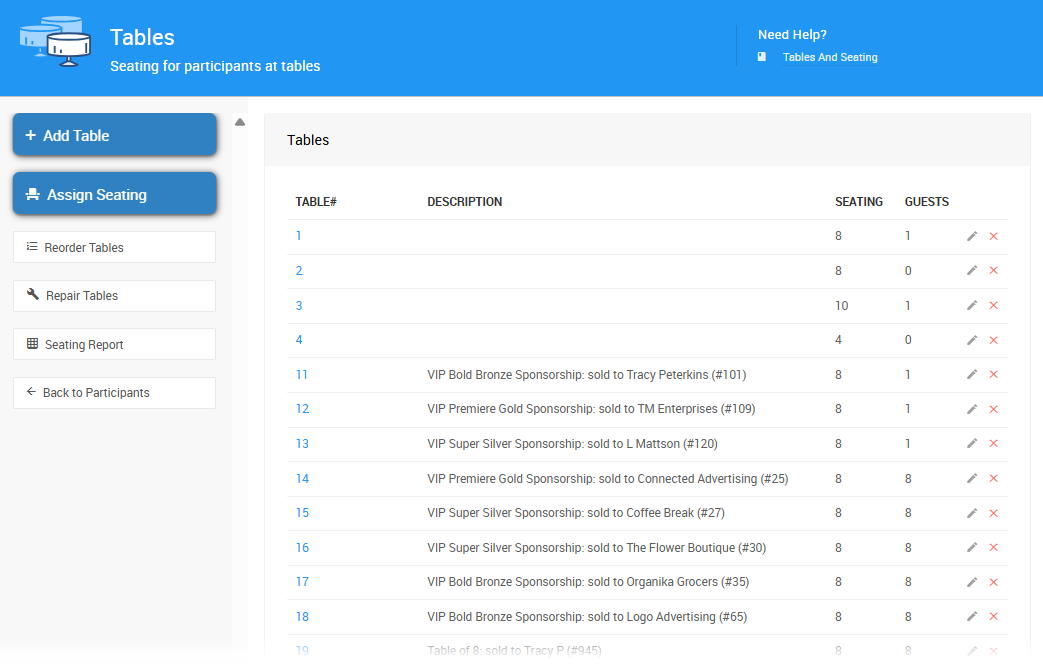
An example Tables Dashboard from a demonstration event.
Add a Table
Click Add Table to open the Add Table page and create a new table for your event.
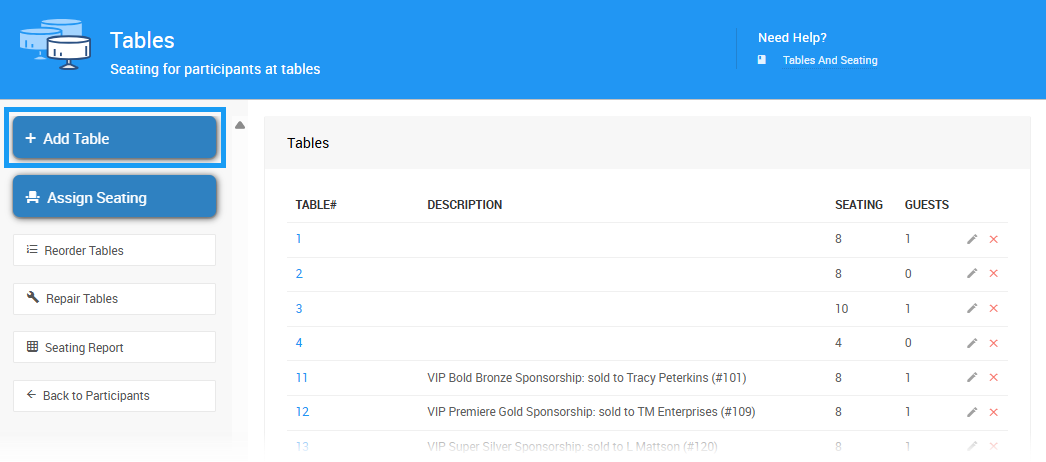
An example Add Table page from a demonstration event.
| Field | Description |
|---|---|
| Table Number | Assigned automatically, starting from 1, and increasing by 1 for each new table. You can also manually change table numbers for easier identification. |
| Description | A name or description for the table (e.g., "VIP Table" or "Table 12"). |
| Seating | The number of seats assigned to this table. |
| Notes | Internal notes for organizers. These aren't printable. |
Click Save Table to save your changes. Your new table then appears in the Tables Dashboard.
Table creation can happen anytime
You can create tables at any time — guests don't need to have registered or purchased tickets yet to be assigned to a table.
Modify a Table
Click the pencil icon at the far right of a table's row to open its Table Details page.
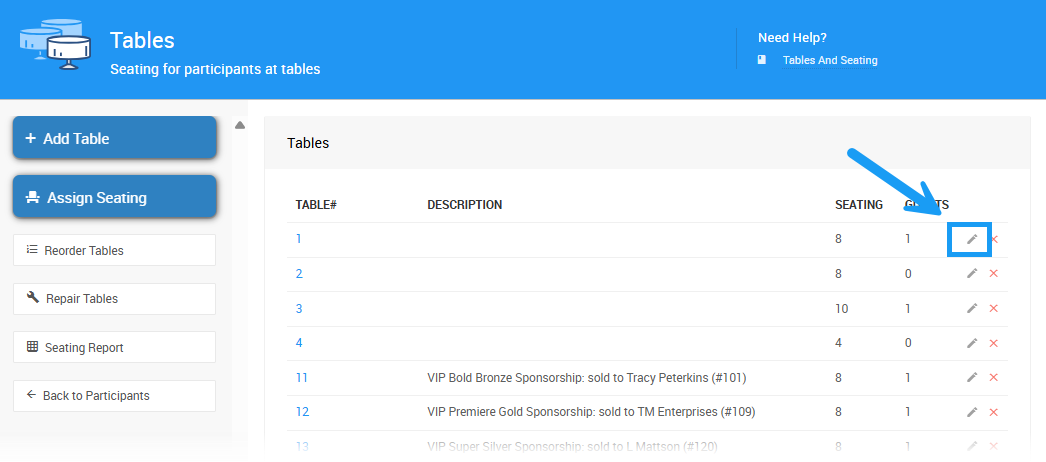
An example from a demonstration event.
From here, you can:
- Adjust the number of seats at the table.
- Change the table number.
- Edit the description.
Changes apply immediately
Any changes you make here immediately update the seating for your guests.
Delete a Table
This action is irreversible
Deleting a table can't be undone. If you delete a table, you'll need to re-add it and re-seat your guests.
To delete a table, click the X icon at the far right of the table's row, or select Delete Table from the sidebar. In the confirmation pop-up, click Continue to delete the table, or Cancel to keep it.
Reorder Tables
- Click Reorder Tables on the Tables & Seating page to open the Table Ordering view.
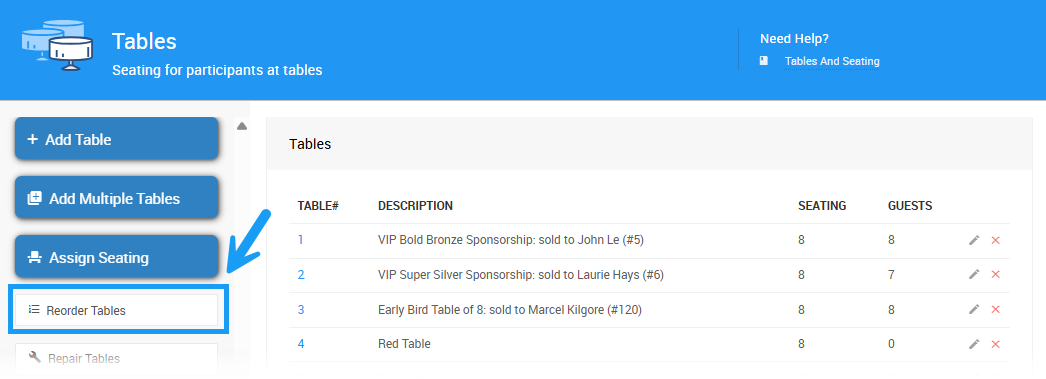
An example Table Ordering view from a demonstration event.
- Drag and drop tables into the order you want, or use the arrow buttons to move a table to the top or bottom of the list.
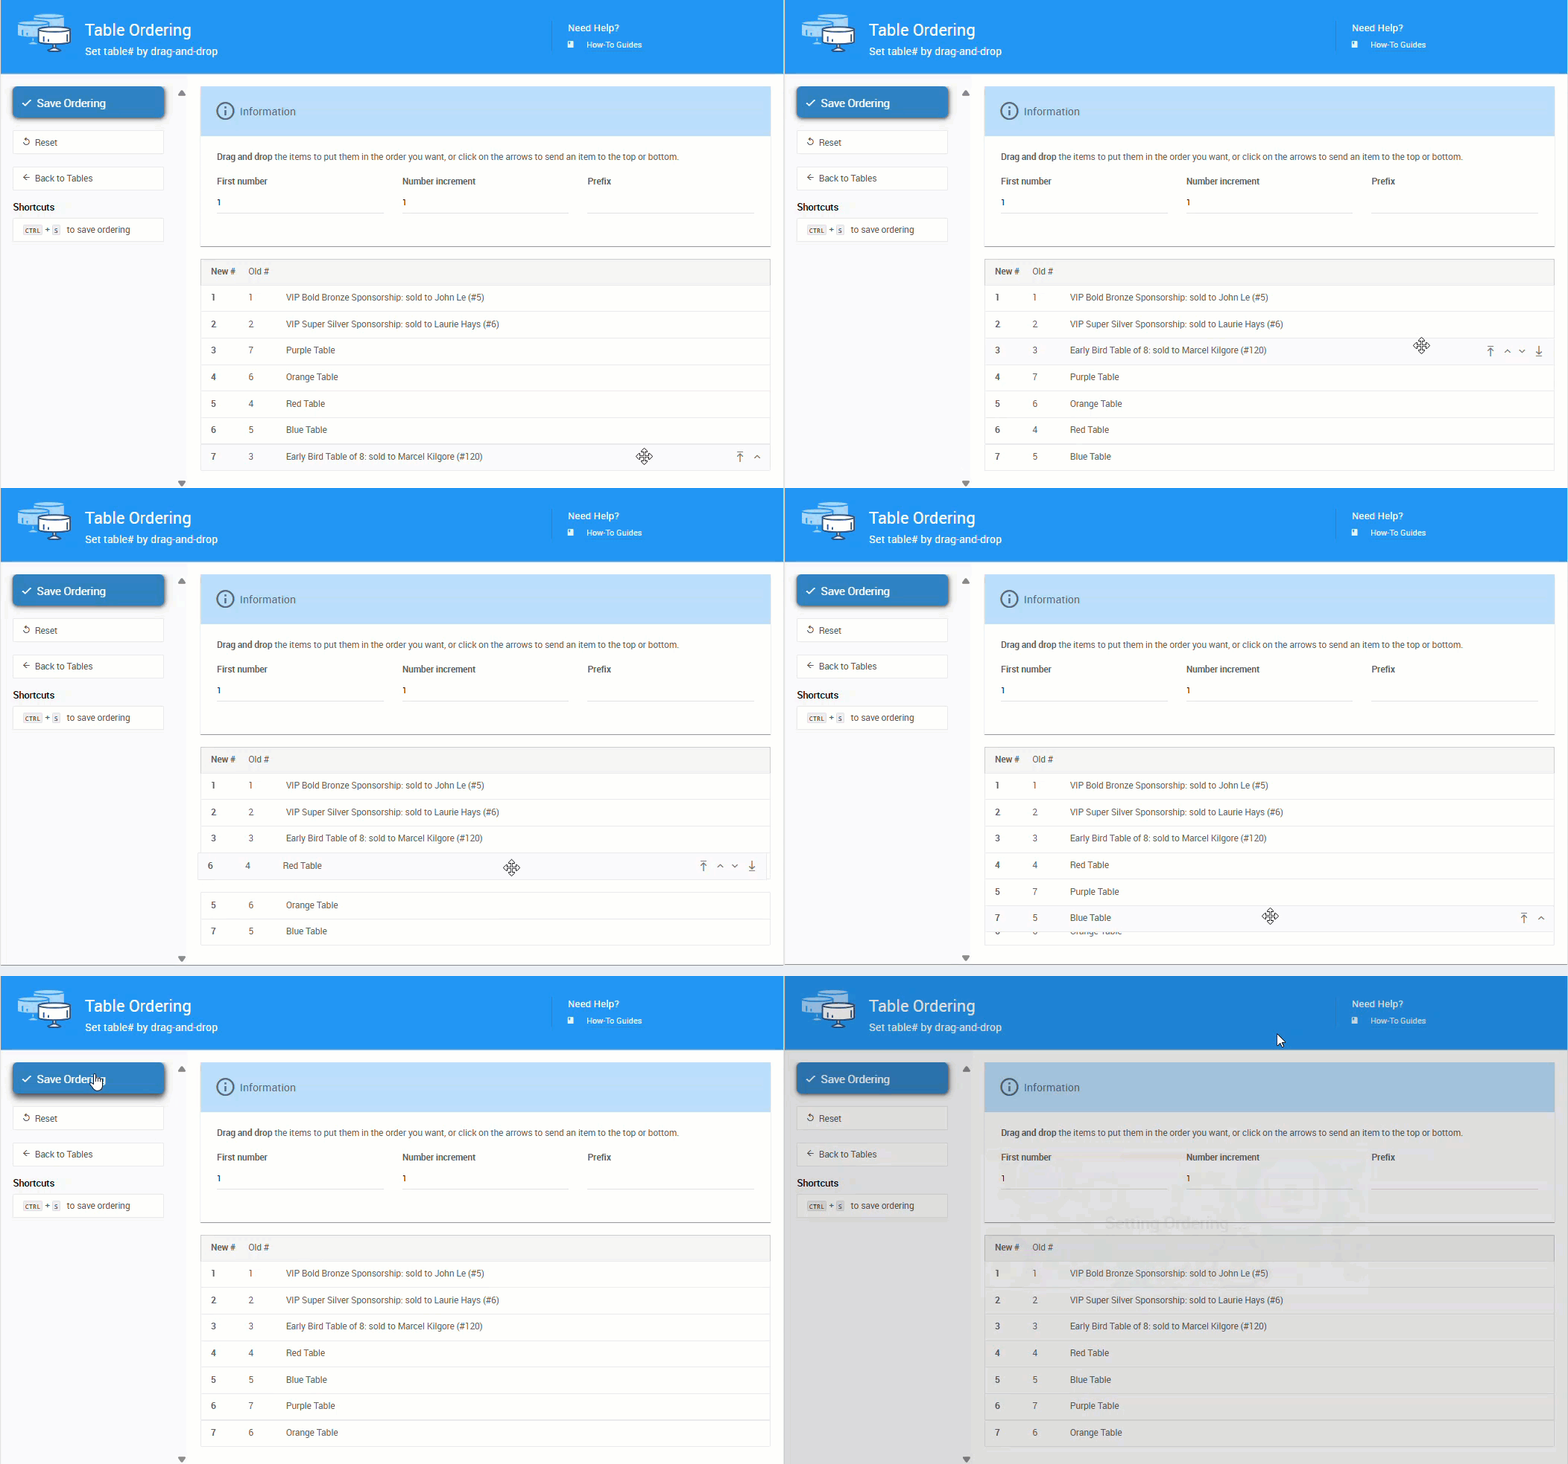
An example from a demonstration event.
- Click Save Ordering to save your changes.
This is useful if you want your table layout to match your printed programs or signage.
Assign Seating to Guests
Click Assign Seating to open the Assign Seating page and assign guests to their tables. See How To Assign Seating for full instructions.
Dessert Dash Tables
If you have the Dessert Dash feature enabled, a Dessert Dash item is automatically generated for each table you set up. See Dessert Dash Dashboard for more information.
Seating Report
Click Seating Report from the Tables page to open the Participant Seating List Report, which displays all guests and their assigned tables.
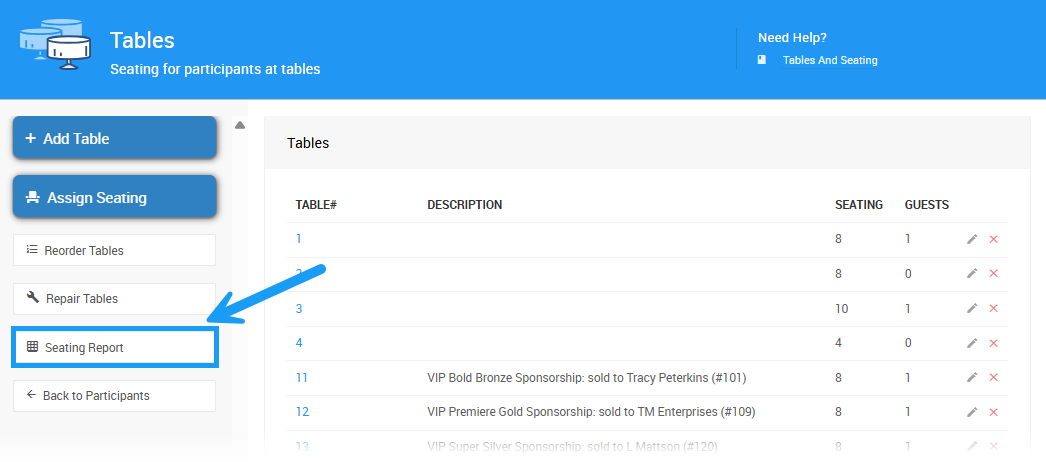
An example from a demonstration event.
Find this report from the main dashboard too
You can also access this report from the main Event Dashboard under Reports → Participant → Seating Assignments.
Repair Tables
Sometimes a ticket sale that should trigger the creation of a table doesn't trigger correctly. To resolve this, click Repair Tables on the sidebar of the Tables page. This opens the Repair Tables page, showing sales that didn't trigger table creation. Click Repair Table Sales to resolve the mismatch.