
Learn how to add and configure an Image element on your event website.
The Image element adds an image to a column. When first added, it displays a default placeholder — replace this with your own image.

An example of empty Image elements on an event website in Edit mode.
Adding an Image to a page
Drag the Image element from the Website Editor Sidebar (under Column) into a column space.
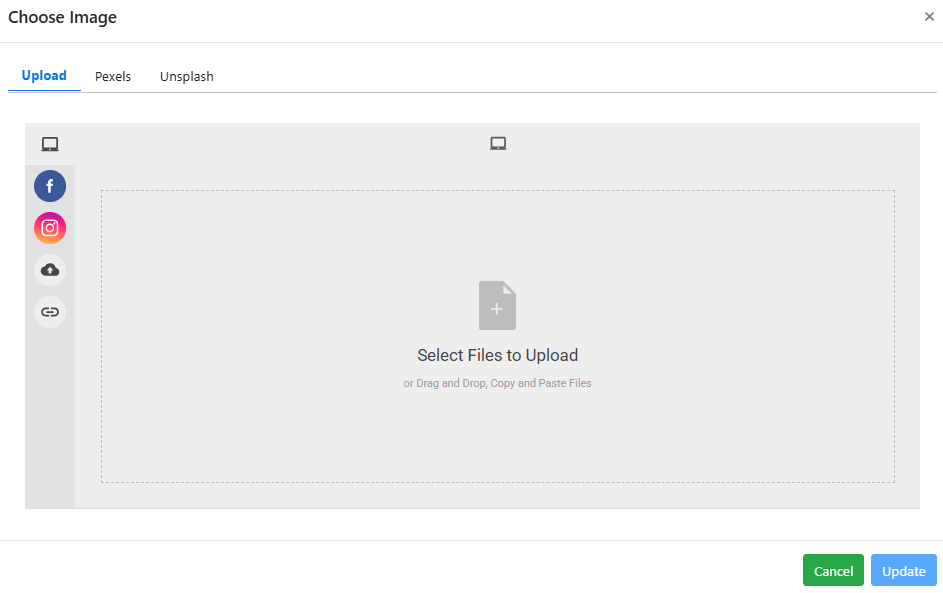
To change the image, double-click it on the page or click the pencil icon to open the Choose Image window.
An example from a demonstration event.
Image Settings
Clicking an Image element opens the Image settings panel in the Website Editor Sidebar.
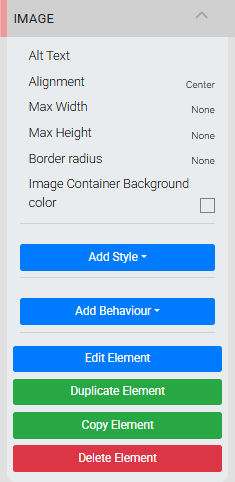
The Image settings panel in the Editor sidebar.
| Setting | Description |
|---|---|
| Alt Text | Sets alternative text displayed if the image cannot be loaded. Alt text also improves accessibility and SEO. |
| Alignment | Sets the horizontal alignment of the image within its container. Default is Centered. |
| Sizing | Controls how the image scales. Responsive to image size (default) sizes the image based on its own dimensions. Responsive to element size expands the image to fill the container — use this for banner-style images. |
| Max Width | Limits the image to a maximum width. |
| Max Height | Limits the image to a maximum height. |
| Border Radius | Rounds the corners of the image. The higher the value, the more pronounced the rounding. |
| Image Background Color | Sets a background color behind the image. See Background for details. |
Recommended image dimensions
The precise pixel size is not critical since screen sizes vary, but these ranges work well in most cases:
- Full-width images: around 1200px wide
- Half-width images: around 600px wide
- Page background images: up to 1600px wide
See Image Dimensions And Sizes for more information.
See Common Element Actions for more details on managing the Image element.