
Everything you need to create your Auctria account and get your dashboard ready for your first event.
New to Auctria?
Start with Getting Started for a video walkthrough and a step-by-step guide to setting up your first event. This page covers the account and dashboard fundamentals you'll complete before building out your event.
Step 1: Purchase a License
Visit our Pricing Page to explore plans and find the right fit for your organization.
Not sure which plan to choose? See Auctria Costs for a full breakdown of license tiers, credit card processing fees, and optional services.
Try Before You Buy!
Every Auctria account starts as a free Explorer Account, so you can explore the platform and try out a Demo Auction before committing to a plan.
Step 2: Create Your Event
- From the Auctria homepage (auctria.com), click Try Auctria Free. Enter your email address and click Get Started.
- Or, purchase your license from the Pricing Page.
- On the next page, your email will be pre-filled. Enter your password and click Sign Up.
- Enter your contact and event details, then click Create Account.
- Fill in any additional event details — such as location, organization email, and event date — and click Create Event. Don't worry if you don't have everything yet; these can all be updated later.
- Your Auctria event dashboard will open automatically. From there, you can watch the Dashboard Introduction video or start exploring your event.
Your event details can be updated at any time through the Dashboard under Event on the left sidebar.
Learn More:
Step 3: Add Your Organization Info
All events in Auctria live inside an Organization — think of it as your account's home base. One organization can hold multiple events over time.
To review or update your organization's details, go to the Dashboard and click Organization on the left sidebar.
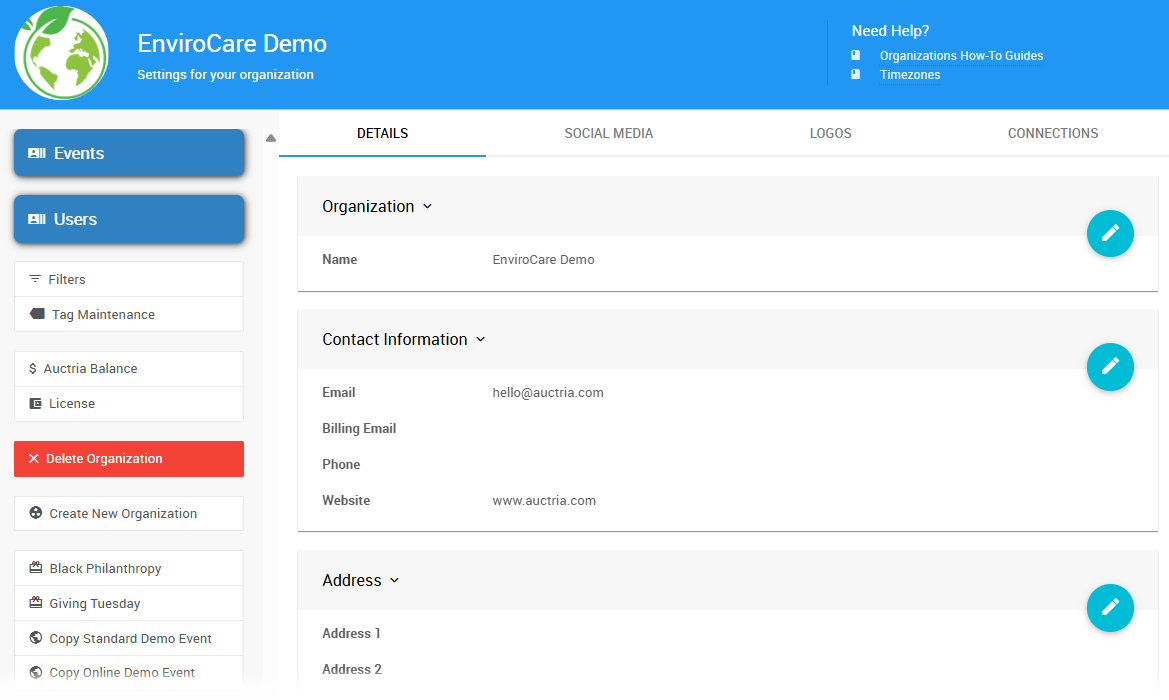
An example of the Organization page from a demonstration event.
Why this matters
Your organization information is directly linked to your Stripe account and advanced texting setup (if enabled), and must match your official registry records — including tax information.
Step 4: Connect a Payment Processor
To accept payments through Auctria, connect a credit card processor. We integrate with Stripe (recommended) or Authorize.net.
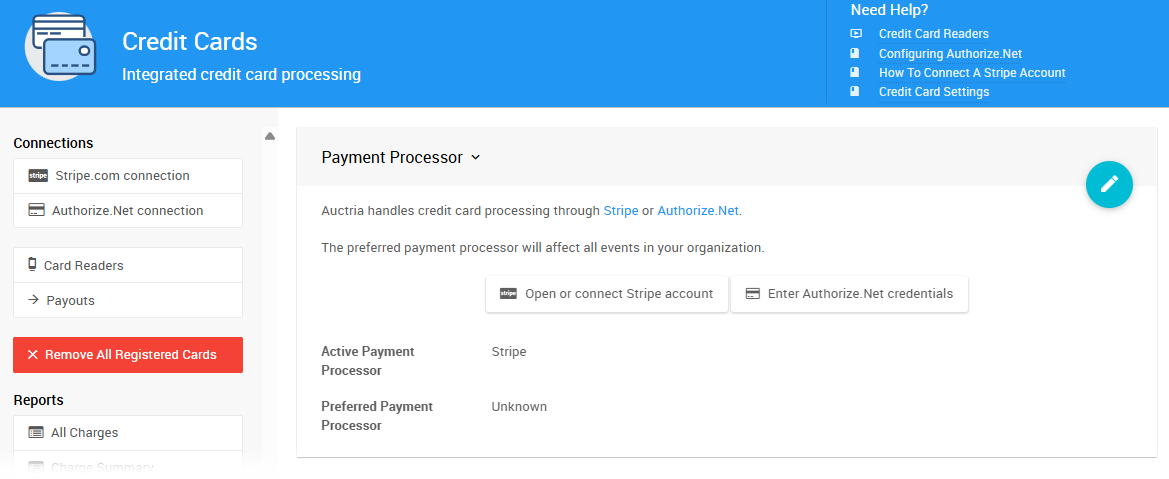
An example of the Credit Cards page from a demonstration event.
Why do this now?
Connecting your processor early unlocks ticket sales, online donations, and checkout — features you'll configure in the steps ahead. Nothing is charged to your account until a guest actually makes a payment.
Learn More:
Step 5: Invite Your Team
Invite users and admins to help manage your event, and assign User Permissions to control who can access which parts of the dashboard.
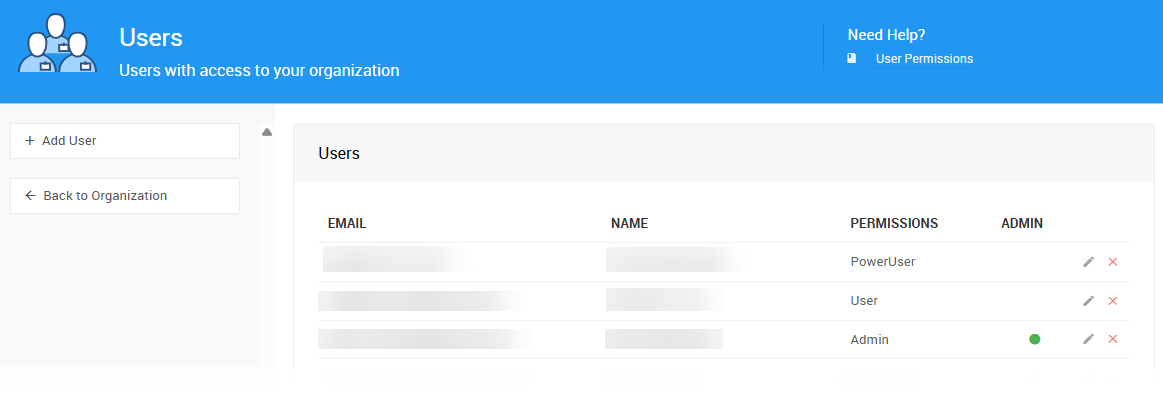
An example of the Users page from a demonstration event.
Plan limits
The number of users you can invite depends on your license plan. See Auctria Costs for details.
Learn More:
Step 6: Review Your Event Settings
Before going further, take a few minutes to review your event settings by clicking Event on the left sidebar to open your Event Details.
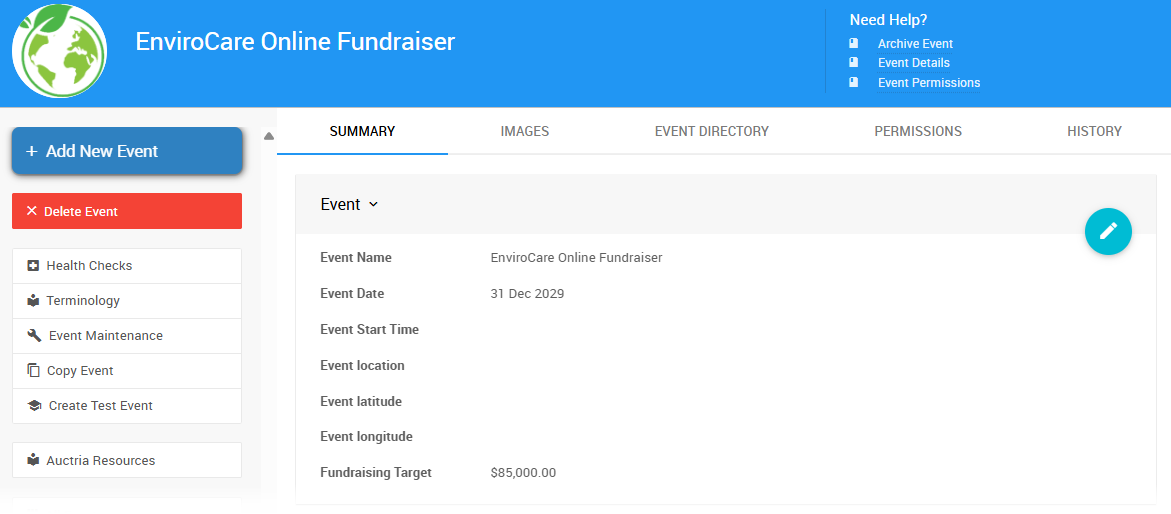
An example Event Details page from a demonstration event.
You can also access settings via Settings on the left sidebar → Event Settings.
Key settings to check:
- Event Details — dates, times, and bidding type
- Payment Options — credit card, cash, check
- Website & Registration Settings
- Text Messaging — if you plan to use outbid alerts or announcements
You're All Set — What's Next?
Your account is ready. Head to Getting Started for a step-by-step guide to building your event — from setting up your website to adding items, tickets, and going live.
Here's a look at everything Auctria has to offer as you build out your event:
| Feature | Description | When You'll Use This |
|---|---|---|
| Event Website | Customize your site — update pages, add content, and preview your event from a guest's perspective. | Build during planning; keep it live through the close of your event. |
| Auctions | Add items and categories, set bid rules and increments, and choose your bidding type — online, paper, or live. | Set up items during planning. Open bidding when your event goes live; close and record final bids at the end. |
| Tickets | Create admission tickets, manage guest lists, assign tables, and check guests in on event day. | Configure ticket types during planning; use check-in tools on event day. |
| Sponsorships | Create tiered sponsorship packages and display sponsor logos on your event website automatically. | Set up early in planning — sponsorships are often sold weeks before the event. |
| Raffles & Sales | Sell raffle tickets, run draws, and offer fixed-price items like swag, drinks, or food tickets. | Configure during planning; sell online or in person on event day. |
| Donations & Paddle Raise | Set up Fund-a-Need giving levels, accept online and in-person donations, and run a paddle raise on stage. | Set up during planning; paddle raise runs live at your event. |
| Communications | Customize system emails, send messages to participants, and use texting for outbid alerts and announcements. | Customize during planning; send statements and payment links when closing. |
| Reports & Analytics | Access report templates covering items, participants, tickets, and financials, and export data to CSV or your CRM. | Use during your event to track progress; run closing reports after checkout. |
| Mobile Apps | Use the Admin App for event-day management and the Bidder App to give guests a mobile bidding experience. | Download and test before event day; use the card reader during and after for in-person checkout. |
Need a full planning checklist?
Check out our Auctria Freebies for a step-by-step guide to planning, running, and closing your event.