
Learn how to open, view, and manage a participant's contact information, tickets, activity, and audit history from the Participant Details page.
In Auctria, a Participant is anyone who contributes to your event — whether by bidding, purchasing items, or donating. The term is used inclusively to cover all types of attendees and supporters.
See Participants for details on adding and managing participants.
The Participant Details page displays contact information, registered credit card details, activity, and audit history for a selected participant. Information is organized across six tabs: Summary, Images, Tickets, Raffle Tickets, Activity, and History.
The participant's Current balance appears at the top of the left sidebar.
Participant Details Tabs Displayed
Depending on your event configuration, you may see some or all six tabs on the Participant Details page. For example, if your event does not have Raffle Tickets, you will not see the Raffle Tickets tab.
Opening Participant Details
There are several ways to open the details page for a specific participant.
Dashboard
On the Participants Dashboard, click Choose Participant. In the box that appears, enter the first few characters of the participant's name or number, then click the participant in the list that appears.
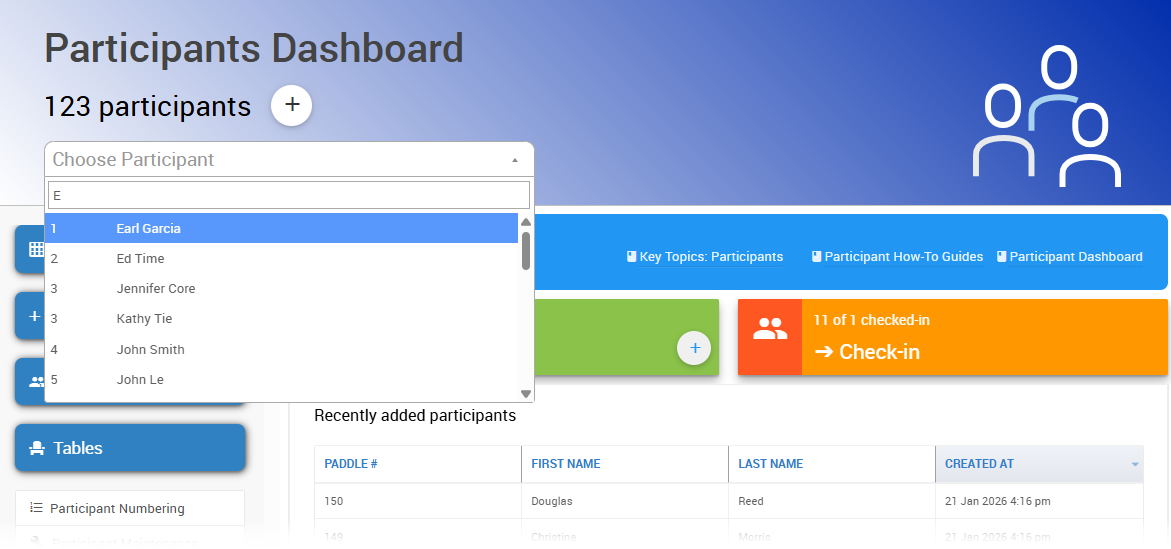
An example from a demonstration event.
Adding a New Participant
To register a brand-new participant instead of opening an existing one, use Add New Participant from the Participants Dashboard.
Search Bar
Click the search icon in the page header (or press Ctrl+Shift+F) and enter part of the participant's name, number, or email. Click the matching participant in the results.

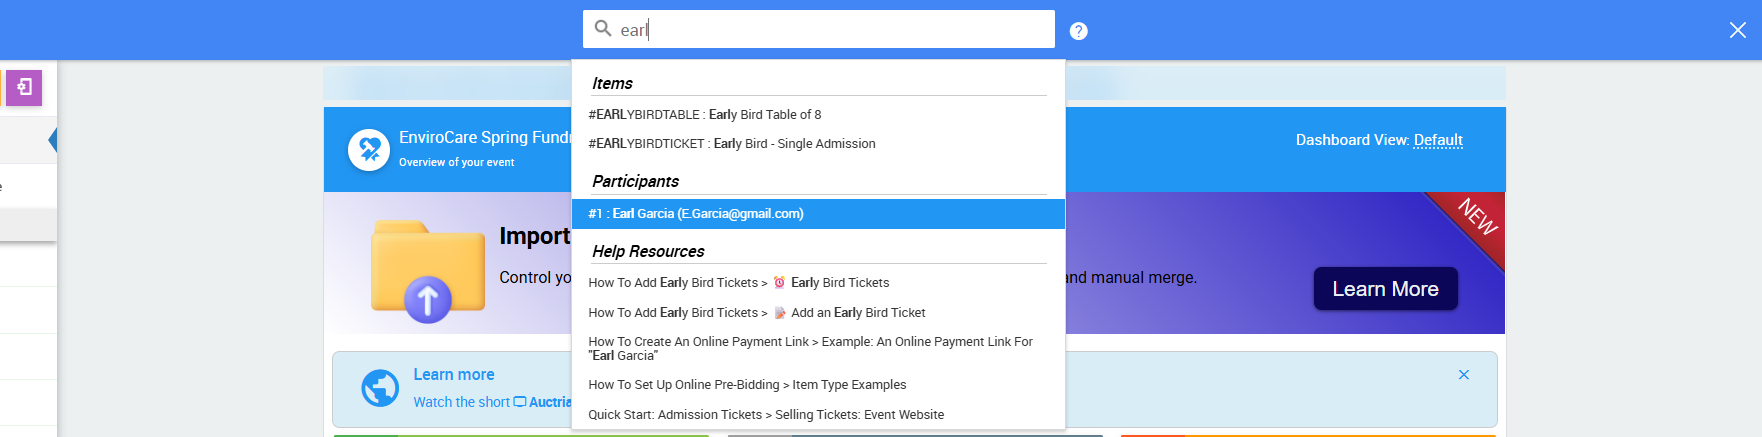
An example from a demonstration event.
Shortcut Command
In the search bar, type :b 123 and press Enter to jump directly to participant 123.
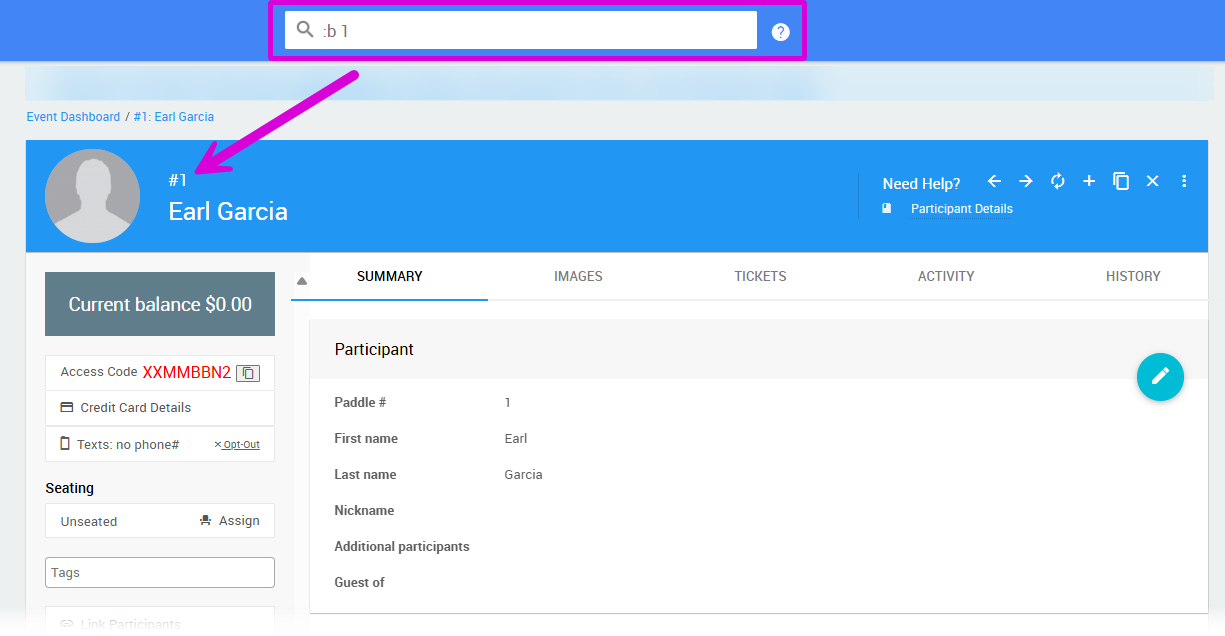
An example from a demonstration event.
Participants List
On the Participants Dashboard, click All Participants to open the Participants List.
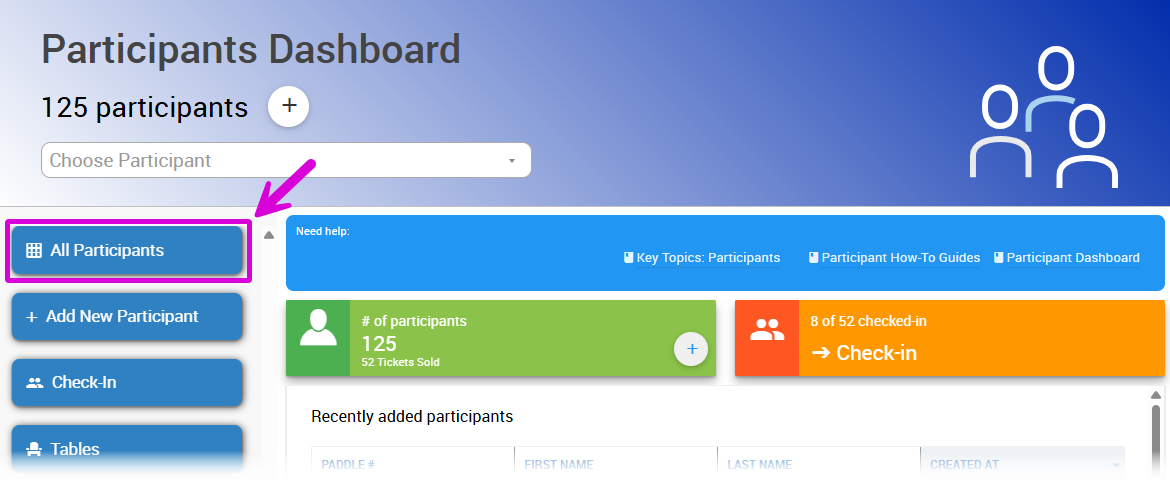
An example from a demonstration event.
Use the filter criteria to narrow the list if needed. Then double-click a participant to open their Details page.
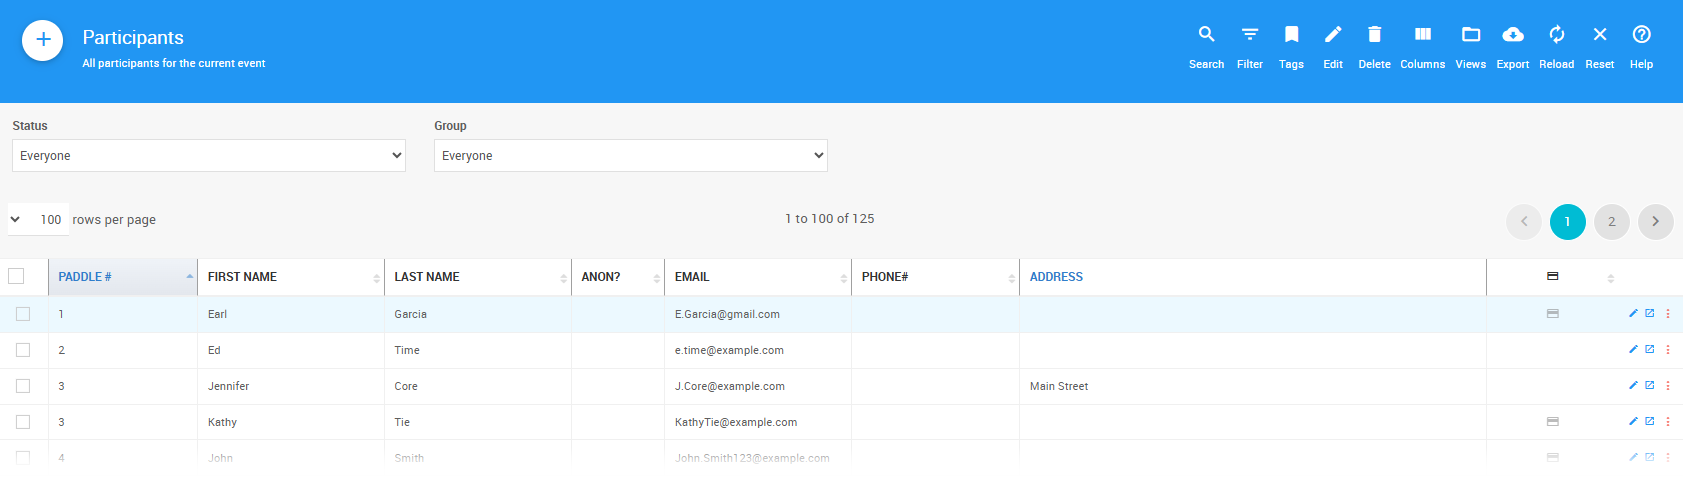
An example from a demonstration event.
Edit Record
To make quick edits to an individual record, click the pencil icon on the right of their record. This will open the Edit Record window, which will allow you to make updates to specific fields.

An example from a demonstration event.
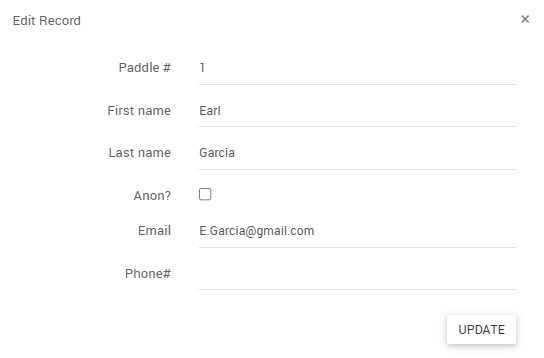
An example from a demonstration event.
Participant Hover Card
Wherever a participant's name appears (for example, in an item's Activity tab), you can hover over their name to see a summary card and click the Details link to open their Details page. You can also click their name directly.
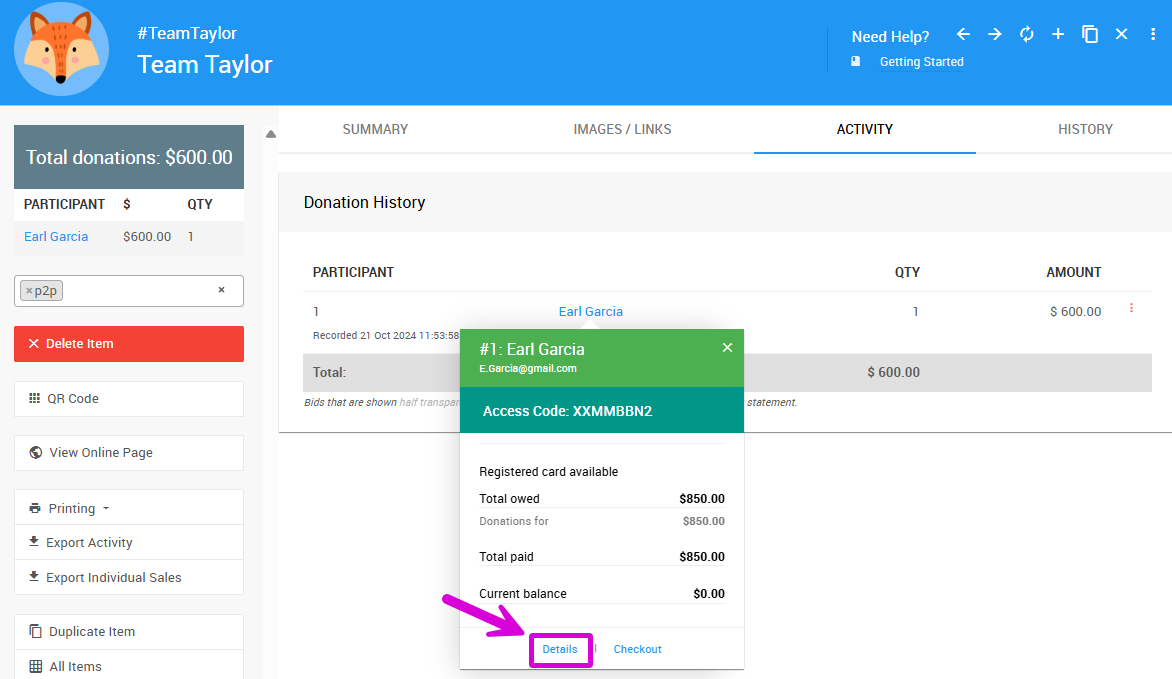
An example from a demonstration event.
Recently Added Participants
If you just saved a participant, their name will appear under Recently added participants on the Participants Dashboard. Double-click their name to open the Details page.
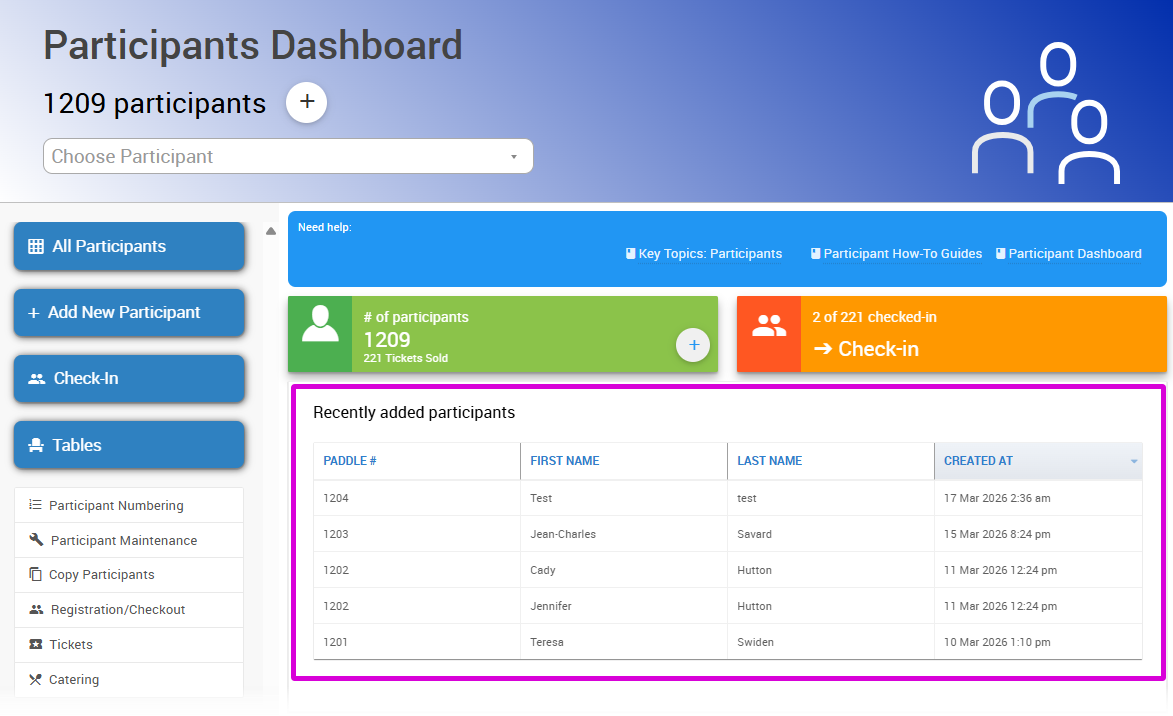
An example from a demonstration event.
Summary
The Summary tab is where you view and edit a participant's core information.
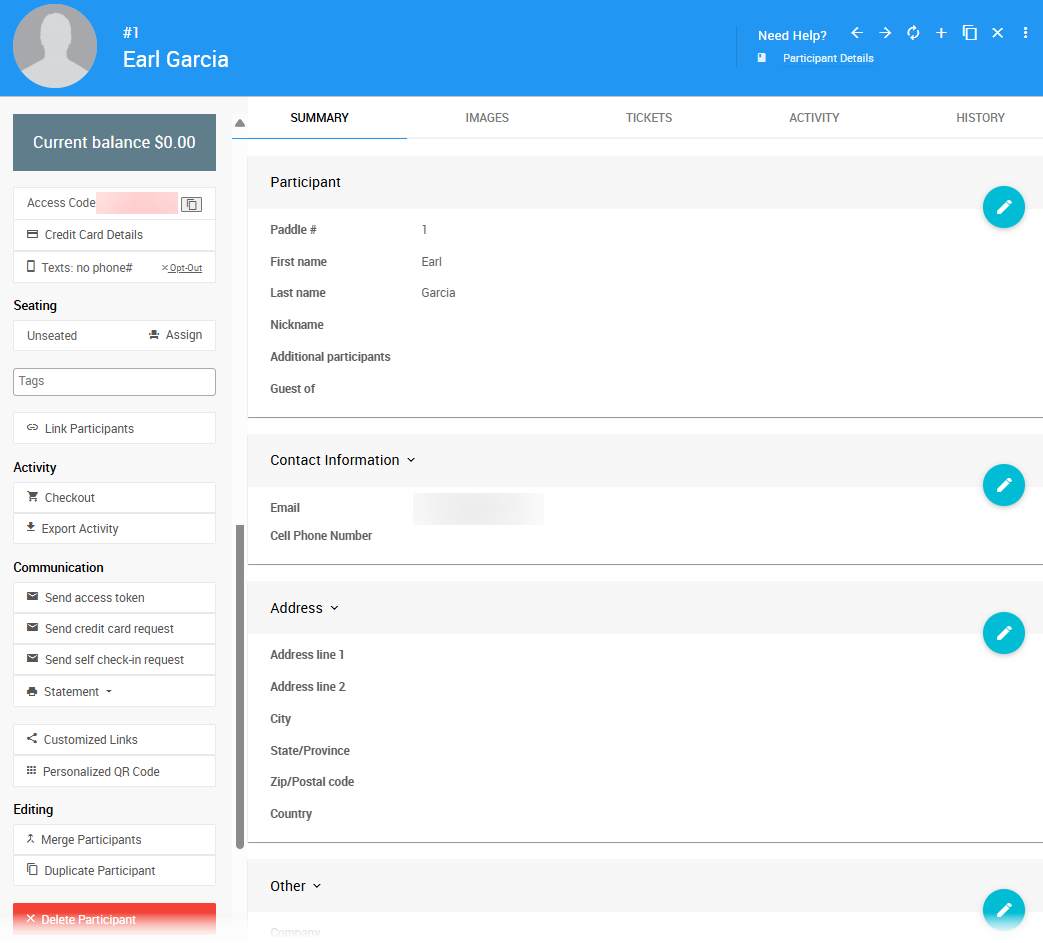
An example participant (and sponsor) from a demonstration event.
How To Edit Dashboard Panel Settings
You can edit panel settings by clicking on the pencil icon to open the panel for editing.

Panel in "saved" mode.
Once you have made your changes, click the checkmark icon to save these changes. If you have opened multiple panels in a dashboard, you must click each checkmark to keep their settings.

Panel in "edit" mode.
You can click the return arrow icon if you do not want to save your changes.
Participant
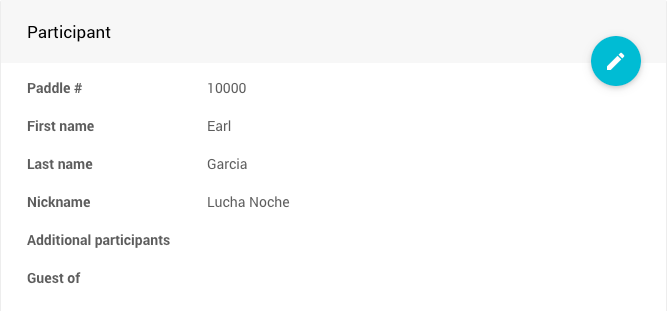
An example from a demonstration event.
| Field | Description |
|---|---|
| Paddle # | The participant's paddle number. Edit as needed. |
| First name | The participant's first name. Can be left blank for company participants. |
| Last name | The participant's last name, or company name if bidding on behalf of an organization. Required. |
| Nickname | An optional alias the participant uses to identify themselves. |
| Additional participants | Names of any other people bidding under this number. |
| Guest of | Select the ticket purchaser from the drop-down if applicable. |
Contact Information
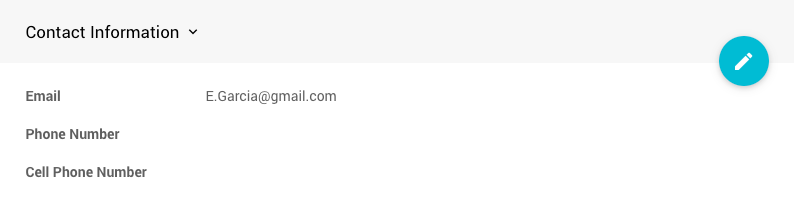
An example from a demonstration event.
| Field | Description |
|---|---|
| Primary contact address for notifications and participant communications. Required. | |
| Phone Number | Optional secondary contact number. |
| Cell Phone Number | Used for the Text Messages feature. This is also the number collected during online registration. |
Address
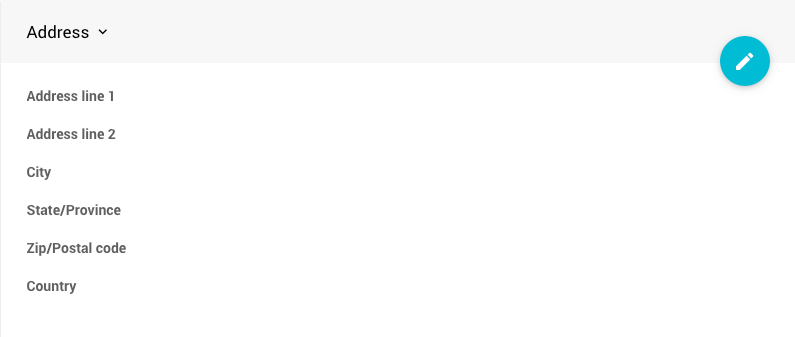
An example from a demonstration event.
The address fields are optional and used as the default shipping address if your organization mails items to participants: Address line 1, Address line 2, City, State/Province, Zip/Postal code, Country.
Other
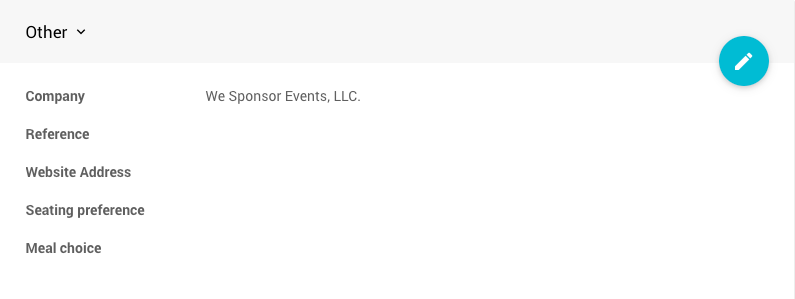
An example from a demonstration event.
| Field | Description |
|---|---|
| Company | The participant's company or organization name. |
| Reference | A cross-reference ID from another system. |
| Website Address | Personal or company website. Use the full URL, e.g. https://example.com/. |
| Seating preference | Informational note about the participant's seating. |
| Meal choice | Enter or select from the auto-filled drop-down. |
| Dietary Restrictions | Lists any dietary restrictions, if enabled. |
| Anonymous Donations/Sponsorships? | When checked, the participant will not appear on your event website's Sponsors or Donors pages. |
Options
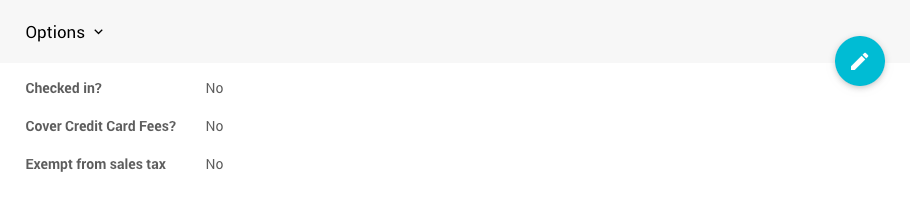
An example from a demonstration event.
| Option | Description |
|---|---|
| Checked in? | Mark the participant as arrived during registration. |
| Cover Credit Card Fees? | Participant opts in to cover credit card fees on all payments. |
| Exempt from sales tax | Exempts the participant from tax on all purchases made after this is enabled. |
Change Tax Exemption Prior To Bidding
The Tax Exempt property should only be set before bidding begins. Sales tax is applied at the time of the bid and cannot be retroactively removed.
Notes
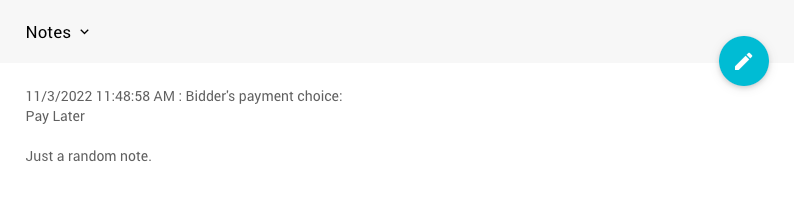
An example taken from a demonstration event.
A free-text field for any additional notes about the participant. Not displayed publicly.
Images
The Images tab applies only when a participant has purchased an item with the Is Sponsorship option enabled. Images here are manually curated.
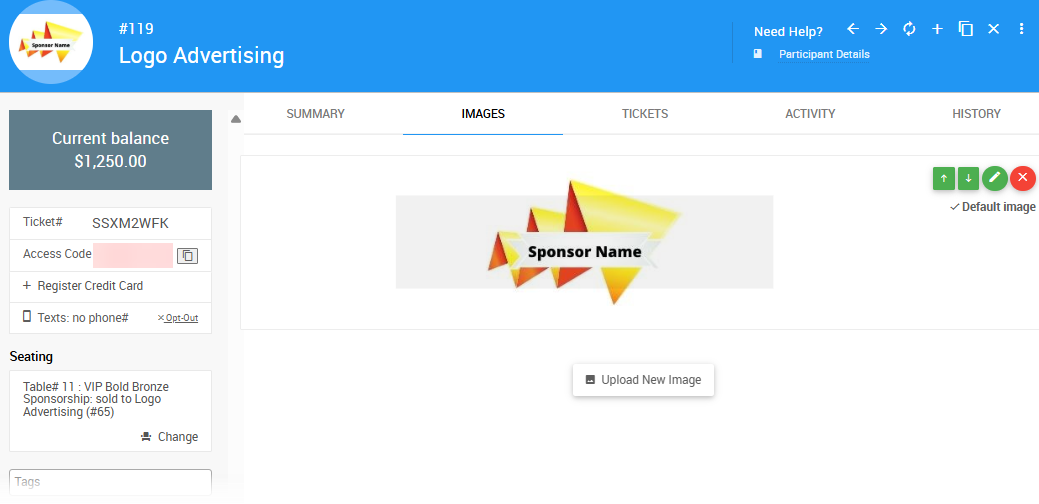
An example from a demonstration event.
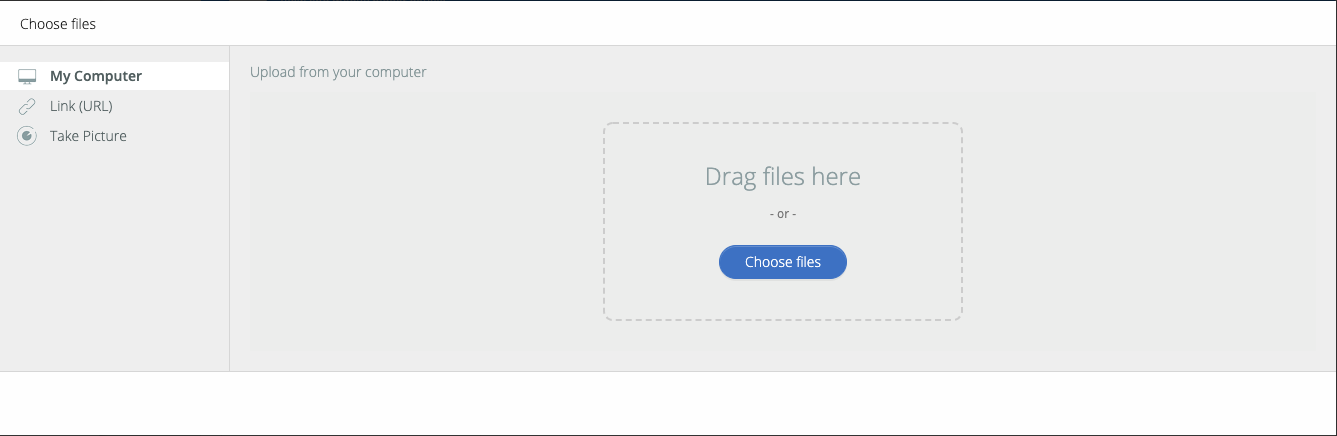
To add a sponsorship image (such as a company logo), click Upload New Image and follow the prompts in the Choose Files window.
An example from a demonstration event.
This process is similar to Batch Image Upload.
Image Dimensions
Image dimensions cannot be modified after upload. See Image Dimensions And Sizes and Adding And Modifying Images for details.
Tickets
The Tickets tab shows all tickets assigned to and purchased by the participant.
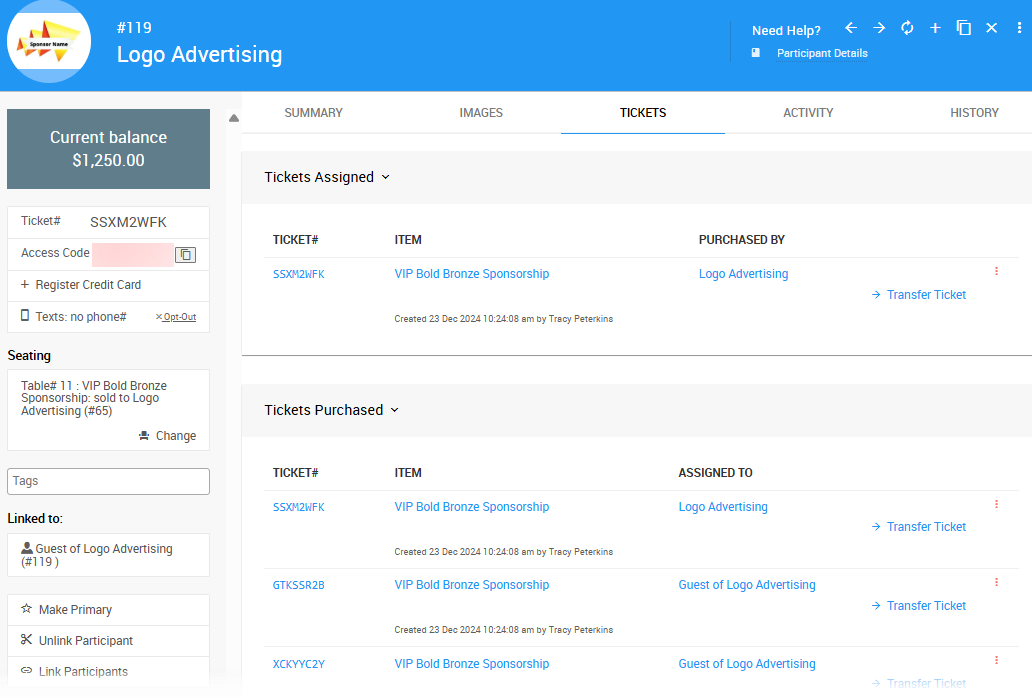
An example taken from a demonstration event.
Transferring Tickets
To transfer a ticket to another participant, click the Transfer Ticket link on the right side of any row in the Tickets Purchased section.
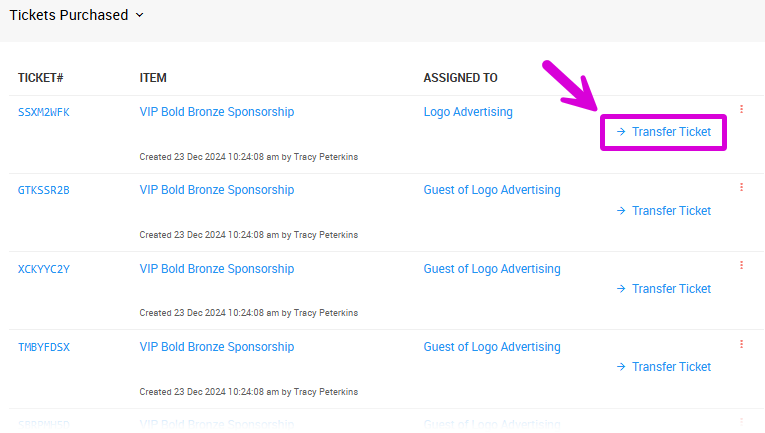
An example taken from a demonstration event.
This opens the Transfer Ticket window.
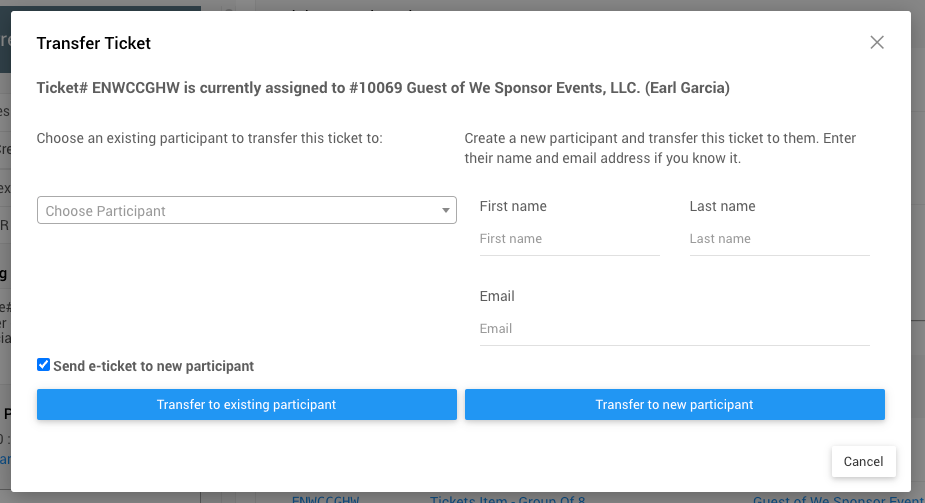
An example taken from a demonstration event.
See Transfer Tickets for more details.
Tickets Assigned
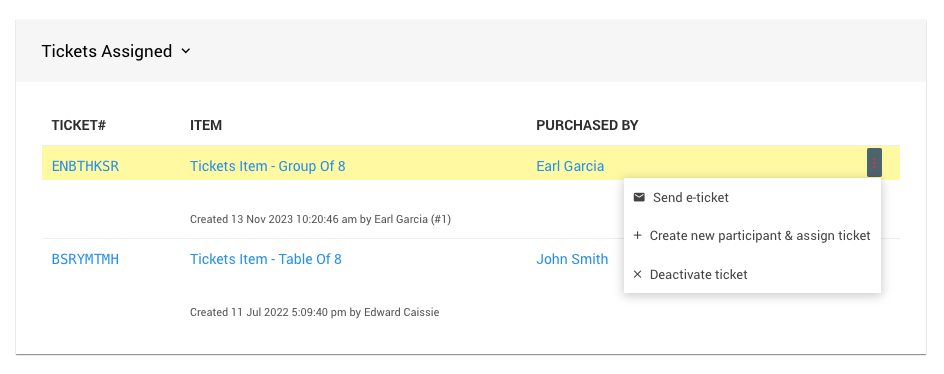
All examples taken from a demonstration event.
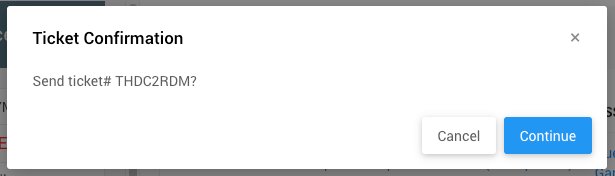
Each assigned ticket row offers three actions, each triggered by a confirmation pop-up:
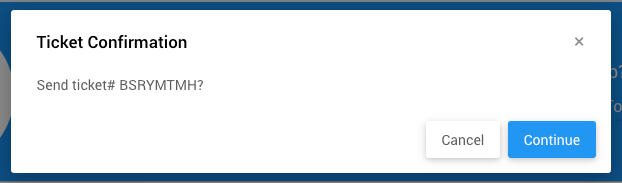
- Send e-ticket – Sends the e-ticket to the participant.
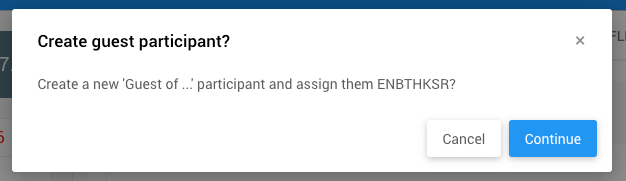
- Create new participant & assign ticket – Creates a new participant record and assigns the ticket to them.
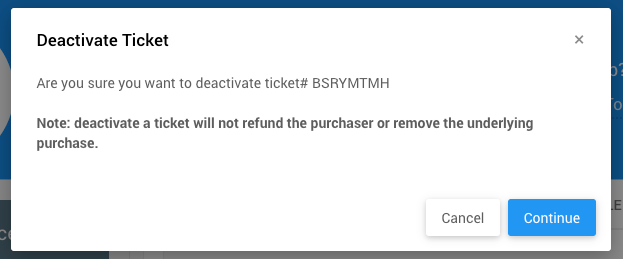
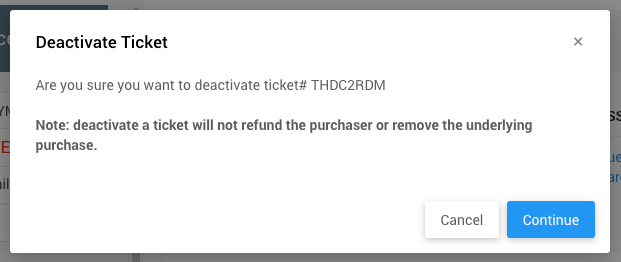
- Deactivate ticket – Deactivates the ticket.
Tickets Purchased
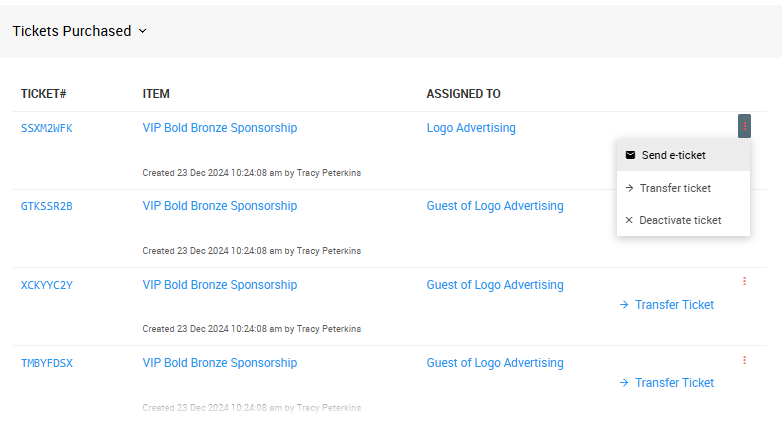
An example taken from a demonstration event.
Each purchased ticket row offers three actions, each triggered by a confirmation pop-up:
- Send e-ticket – Sends the e-ticket to the participant.
- Transfer ticket – See Transferring Tickets above.
- Deactivate ticket – Deactivates the ticket.
Raffle Tickets
The Raffle Tickets tab lists all raffle tickets the participant has purchased.
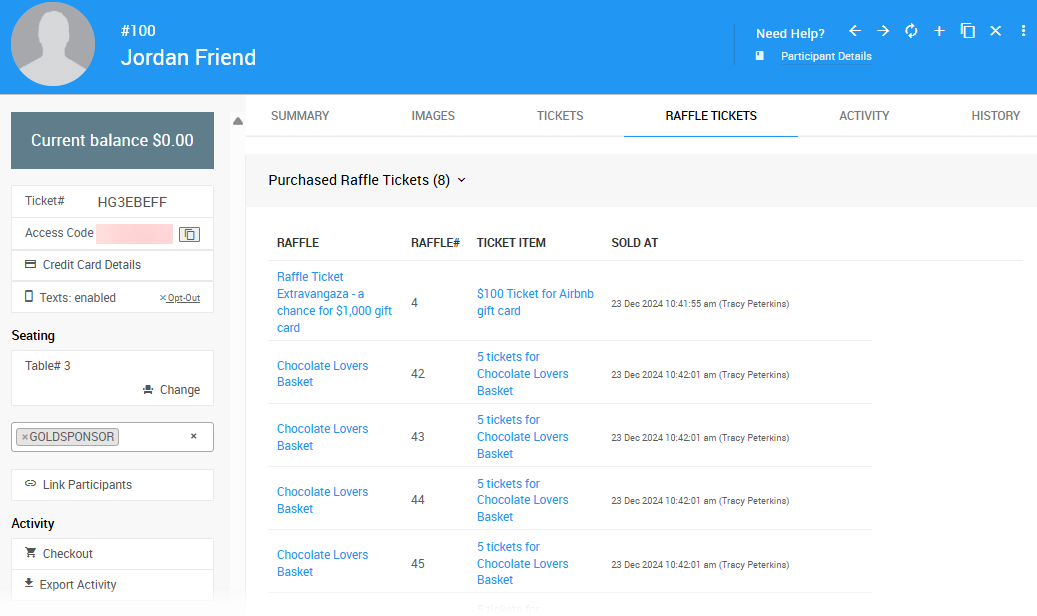
An example taken from a demonstration event.
Activity
The Activity tab summarizes the participant's financial activity, including items won, purchases, donations, payments, and active bids. Banners at the top show the current amount owing and total in-progress bids.
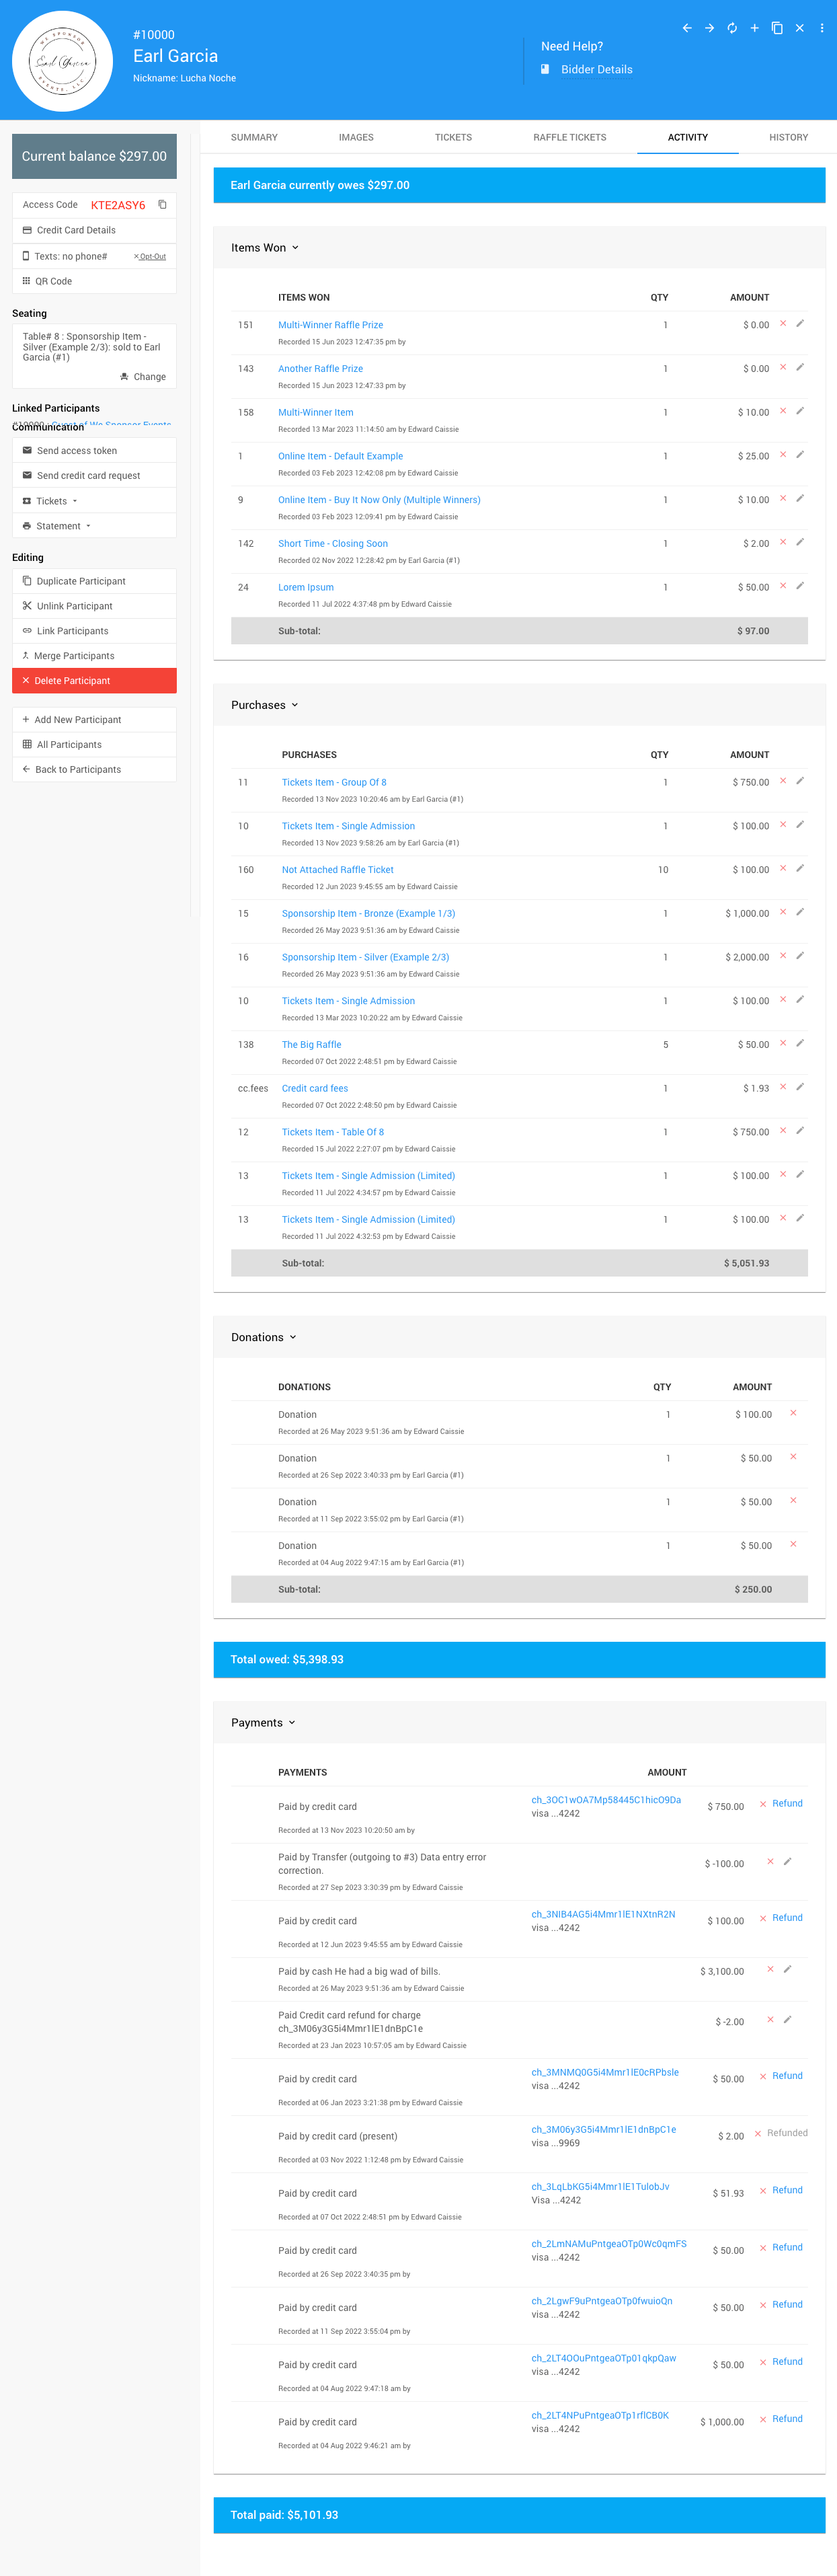
Total owed = Items Won + Purchases + Donations. Total paid = sum of all recorded Payments.
| Section | Description |
|---|---|
| Items Won | Items recorded as won by the participant. |
| Purchases | Items the participant has purchased. |
| Donations | Donation-type items, listed separately for reference. |
| Payments | Payment type, amount, and date for each recorded payment. |
| In-progress Winning Bids | Items the participant is currently winning. |
History
The History tab shows a full audit trail of all changes made to the participant record.
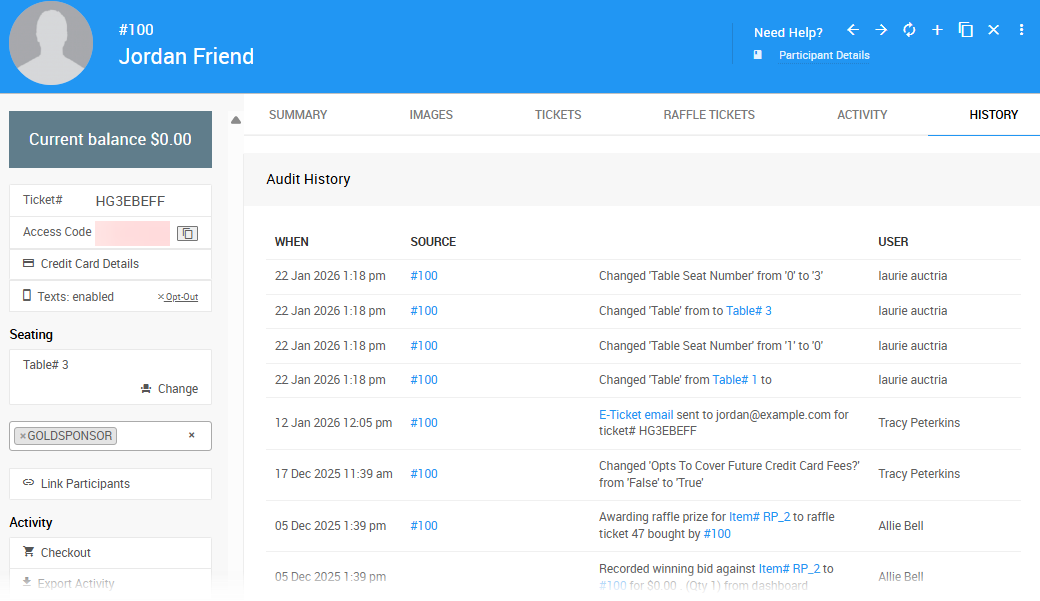
An example taken from a demonstration event.
Sidebar
The left sidebar provides quick access to additional actions and information for the selected participant.
Access Code
Click Assign Access Code to generate an access code for the participant.
See Participant Online Access And Tokens for more information.
Credit Card
Click Register Credit Card to add a card for the participant. A USB swiper can also be used to enter card details.
Once a card is added, this section displays the card type and last four digits.
Credit Card Storage
Auctria does not store credit card numbers. All card data is held by your payment processor.
Seating
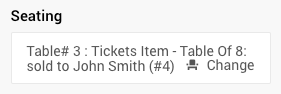
An example from a demonstration event.
Displays the participant's table assignment from Tables And Seating, with a quick link to update it. If no seating has been assigned, an Assign button appears instead.
Tags
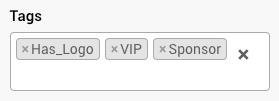
An example from a demonstration event.
Assign tags to the participant for easier organization and reporting.
See Where Tags Can Be Used In Auctria for details.
Link Participants
Links the selected participant to another existing participant in the system. If the target participant doesn't exist yet, add them first before linking.
Activity
| Action | Description |
|---|---|
| Checkout | Opens the Checkout page with this participant pre-filled. |
| Export Activity | Downloads an Excel spreadsheet of this participant's activity. |
Communication
All communication actions open a confirmation window before sending.
| Action | Description |
|---|---|
| Send Access Token | Sends an access code email to the participant. |
| Send e-ticket | Sends an e-ticket email to the participant. |
| Send tickets statement | Sends a tickets statement to the participant. |
Statement
- Show Printable Statement – Preview the printed statement.
- Preview Email Statement – Preview the email statement.
- Send Email Statement – Send the email statement to the participant.
- Show Small Printable Receipt – Preview a narrow-format receipt.
Customized Links
Opens a window with personalized links for the participant, including the link type, description, and options to copy the full or shortened URL.
Unique Personalized Links
These links are unique to this participant and should not be shared with others.
Editing
| Action | Description |
|---|---|
| Duplicate Participant | Opens the Register Participant page pre-filled with this participant's details. See Duplicate Participant. |
| Link Participants | Links two participants; the selected participant's paddle number will be updated to the current one. |
| Merge Participants | Merges another participant into this one. The selected participant will be deleted, and their activity transferred here. |
| Delete Participant | Permanently removes this participant after confirmation. |