
Learn how to set up a donation item so guests can "purchase" tickets for teachers, faculty, or staff at set donation levels.
Ticket Donation Items
You can set up a Donation item for donors to "purchase" event night tickets for teachers, faculty, or staff members at various donation levels.
What are Donation Items?
Donation items let guests contribute toward a specific purpose without making a purchase or winning an auction item — see Donation Items for a full breakdown of Donation item fields and settings.
This guide covers creating a Donation item for tickets specifically, then displaying it on your event website using either the Item Catalog or the Donation Element.
Create the Donation Item
- From your main Auctria dashboard, click the + button in the Items block to add a new item.
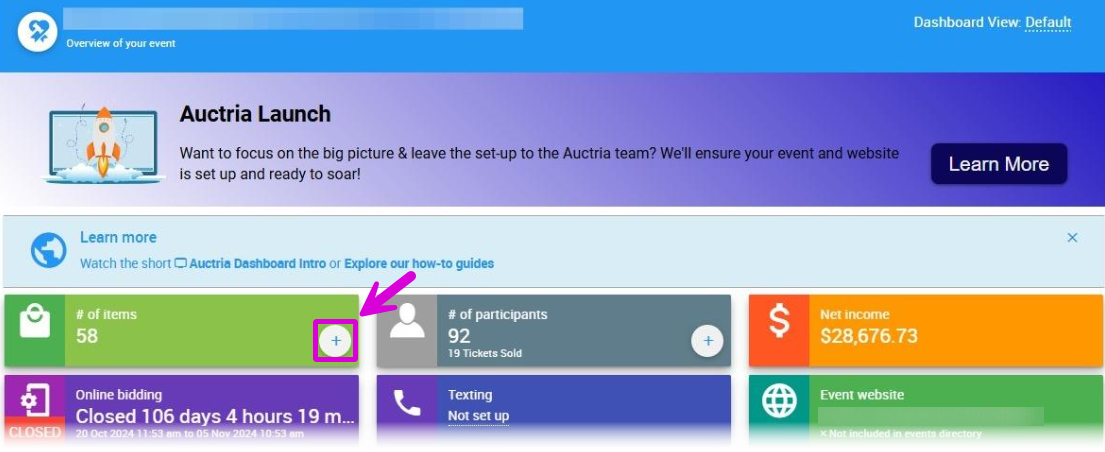
An example Items block from a demonstration event.
- Enter the item's details, such as Title and Description, and set the Type to Donation.
- (Optional) Enter the number of available tickets in the Quantity field.
- Enter the desired donation levels in the Donation Levels field, separated by commas. Add
,*at the end to also let guests enter a custom amount — for example,150,*presets a $150 option (matching your ticket price) alongside an open field for any amount.

An example Donation Levels field from a demonstration event.
- If you have an image for your item, click Add Image and follow the prompts to upload it.
- Click Add Item to add the item to your event.
Display the Item on Your Event Website
You can display your donation item on your event website's DONATE page in one of two ways, depending on your setup:
| Approach | Best For |
|---|---|
| Item Catalog | Offering several tiered discount ticket levels as separate Donation items. |
| Donation Element | Offering a single Teacher/Staff Ticket donation item, often with one donation level at the ticket price and one for any amount. |
Option 1: Using the Item Catalog Element
- Click Event Website on the left sidebar.
- Click Edit Website to open the Website Editor.
- Select the DONATE page — this is available automatically if your website uses a template. Otherwise, create a new page first.
- From the Editor sidebar, drag the Item Catalog element onto the page where you want it to appear.
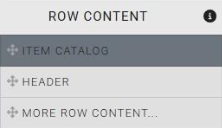
The Item Catalog element in the Editor sidebar.
- Select the Item Catalog on the page to open its configuration options in the sidebar.
- Click Configure next to Items Displayed under the Catalog header. See Conditions Reference for the full list of filter conditions available.
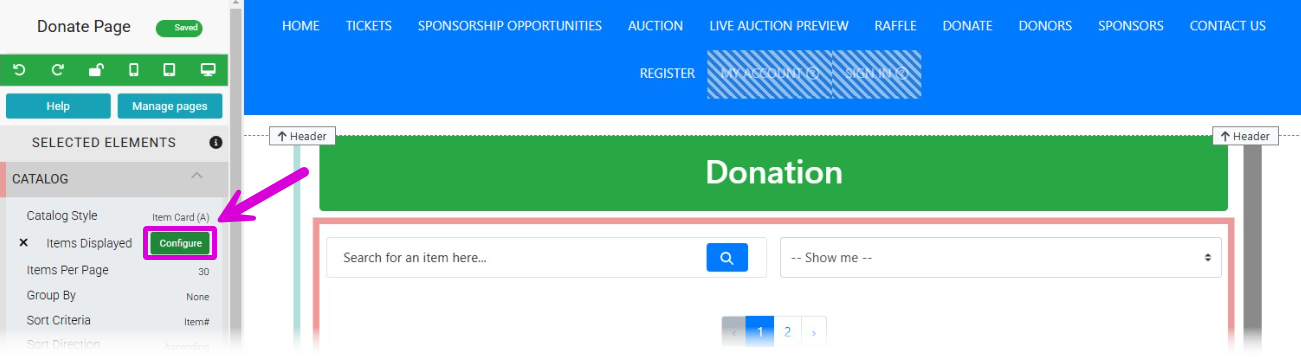
An example Items Displayed setting from a demonstration event.
- Click Add Condition.
- Select Choose specific items from the drop-down.
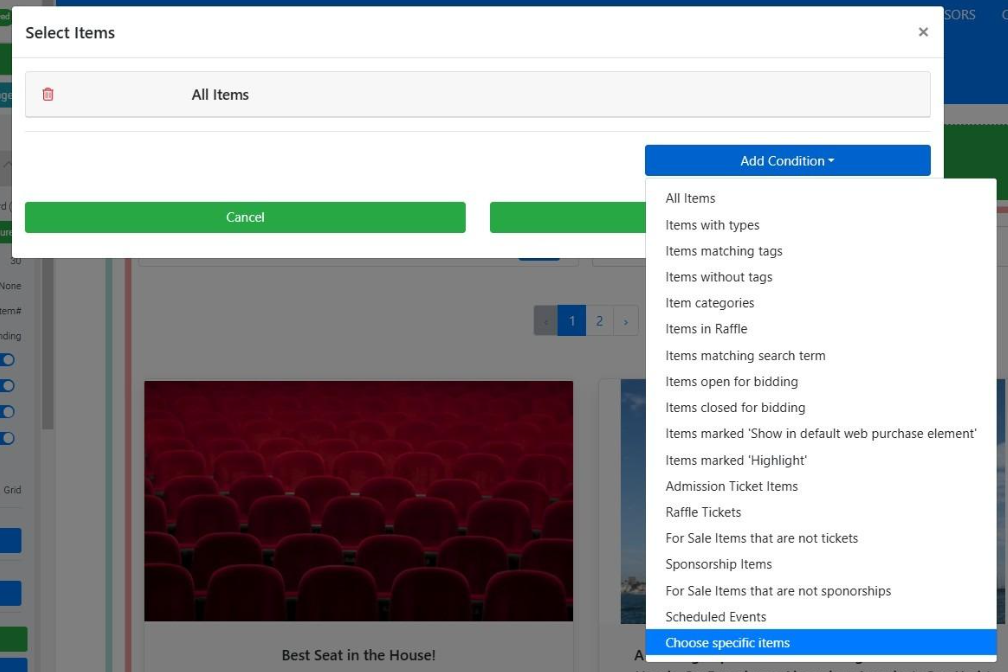
An example Choose specific items condition from a demonstration event.
- Click the Choose specific items box to open the filter.
- Enter your donation item's name (e.g., "Fund-A-Staff Ticket") and select it from the list.
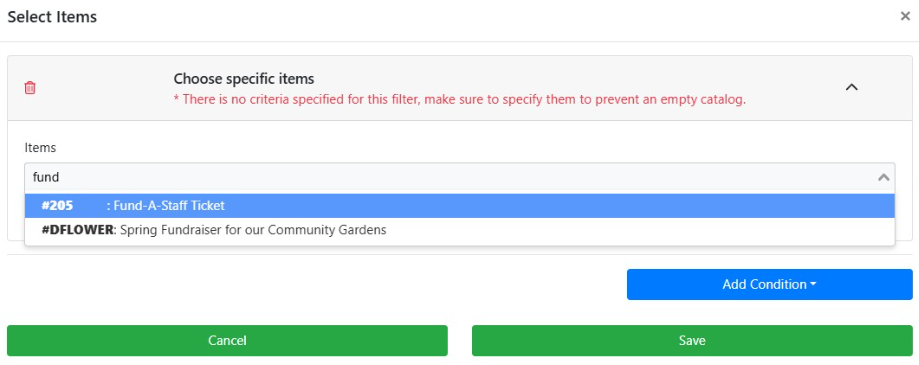
An example item selection from a demonstration event.
- Click Save to save your changes.
- (Optional) Click Catalog Style in the Item Catalog settings panel in the Editor sidebar to choose the Item Card style you prefer.
Option 2: Using the Donation Element
- Click Event Website on the left sidebar.
- Click Edit Website to open the Website Editor.
- Select the DONATE page. This is available automatically if your website uses a template. Otherwise, create a new page first.
- From the Editor sidebar, drag More Row Content onto the page where you want it to appear and select Donation Element from the Choose Row window.
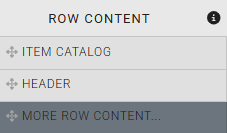
The More Row Content element in the Editor sidebar.
- Select the Donation Element on the page to open the Donation settings panel in the sidebar.
- Click Configure next to Details to open the Select Details dialog.
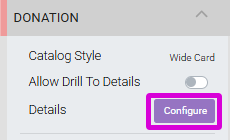
An example Donation settings panel from a demonstration event.
- Switch the Donation Mode to Donation items.
- Click Choose item(s) and select your donation item from the list.
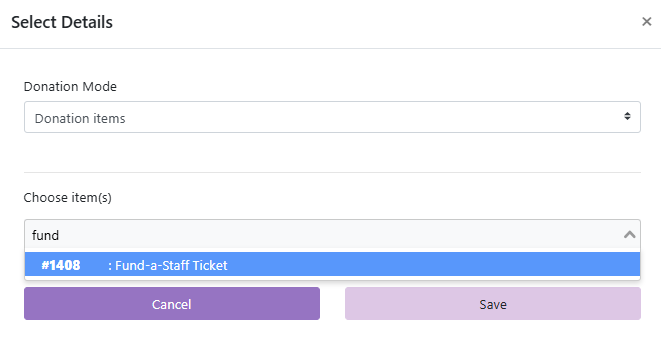
An example Select Details dialog from a demonstration event.
- The giving options shown come from the Donation Levels field, set either when creating the item or later from its Item Details page — for example,
150,*presets a $150 option alongside an open field for any amount. - Click Save to apply your changes.
Your donation item now appears on your event website's Donation page.
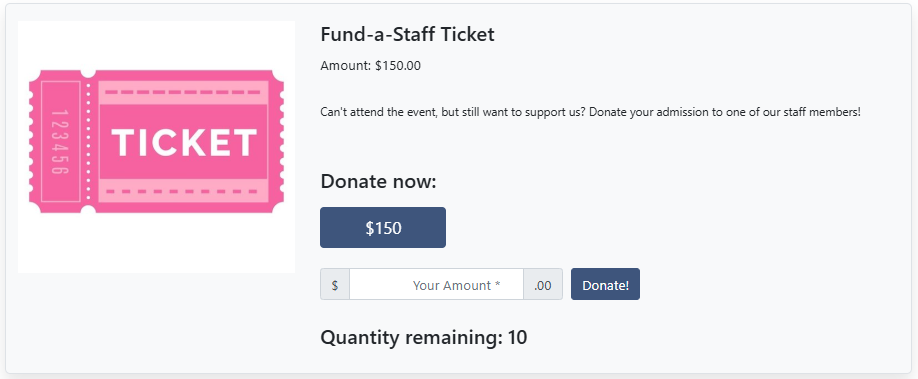
An example Donation page from a demonstration event.