How To Make Mass Changes
The Make Mass Changes option can be used to quickly make bulk changes to multiple records.
WARNING -- Use With Care
This is a very powerful tool for manipulating your data; and, in general, using the Mass Changes Editor will not trigger any other logic around the change.
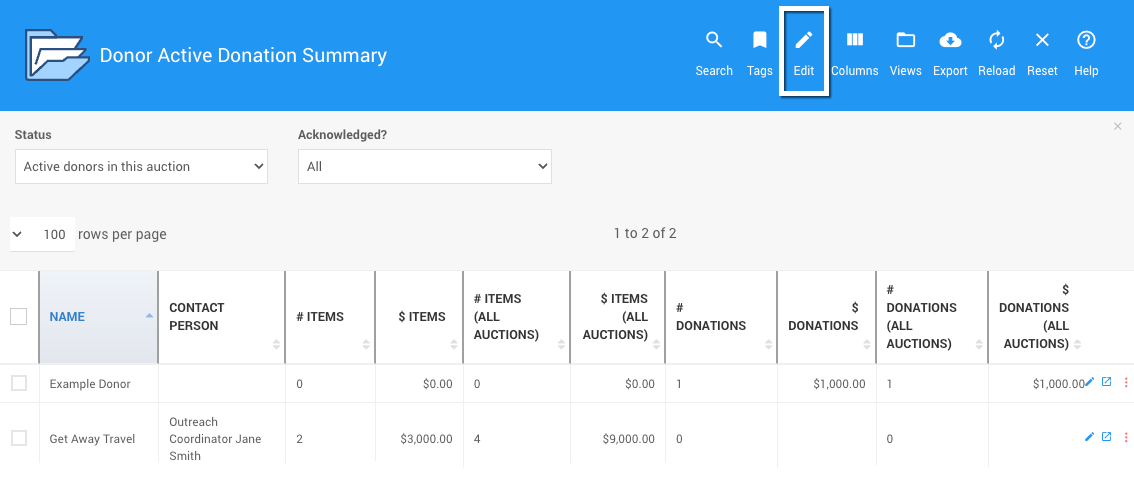
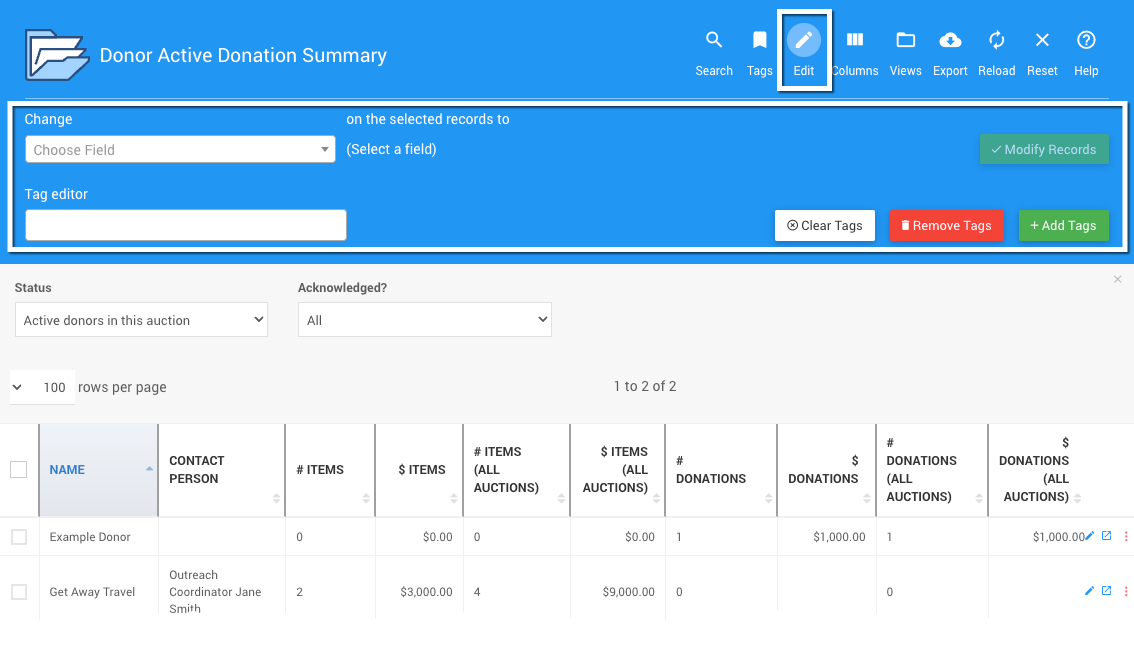
You can open the Mass Changes editor from any report that supports editing. You will find the "Edit" icon in the report banner at the top of the page. Clicking this will slide open the editor panel.
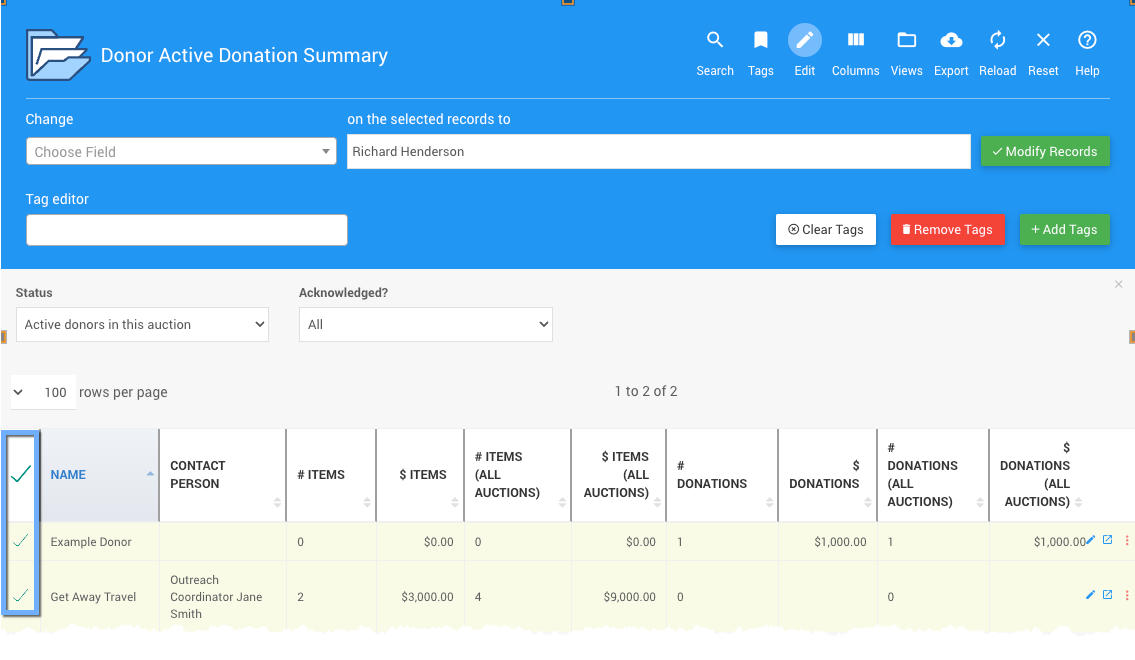
Select the checkboxes for the records you want to modify. To select all records on a page, select the checkbox in the top-left corner of the grid beside the column headings.
IMPORTANT
If your report has multiple pages and you want to change all the records, then be sure to change the rows per page option to All first before selecting the items, especially if there are multiple pages of records to be affected.
Otherwise, only the records on the (first) page will be updated.

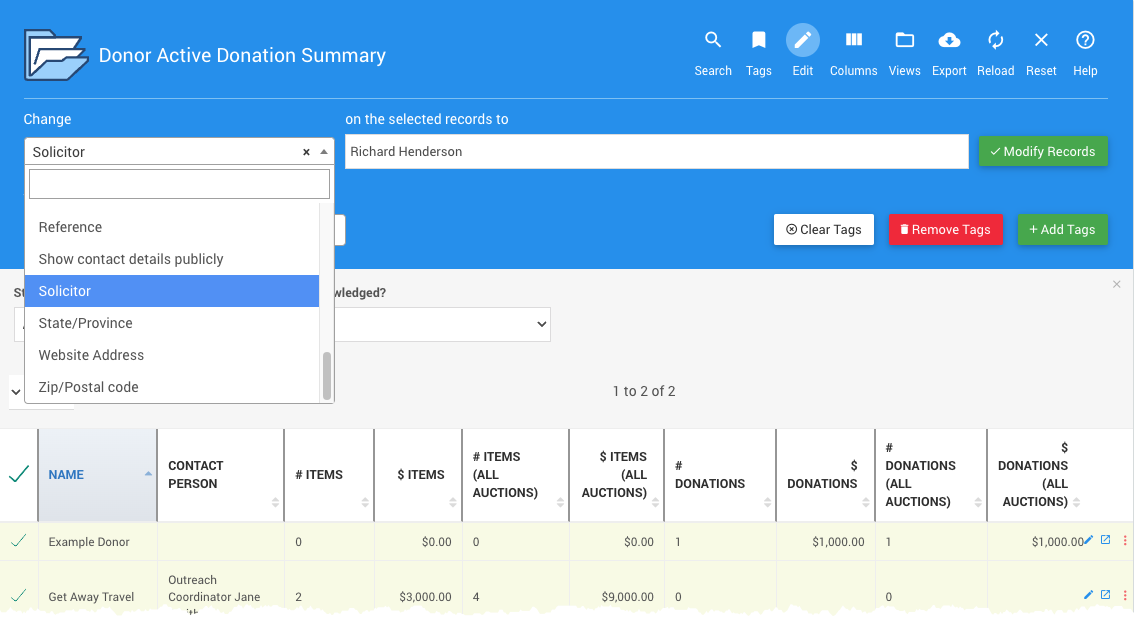
Click the Change selector box to see the list of available fields you can change.
INFORMATION
You are not limited to visible fields in the current view. All fields from the table the report is generated from are available.
Once you have selected the field you want to change, enter the new value in the on selected records to box. For some fields, you may need to choose a value from a pre-defined drop-down selection list.
Click the Modify Records button at the far right of the on selected records to box. The system will prompt you to confirm the changes.
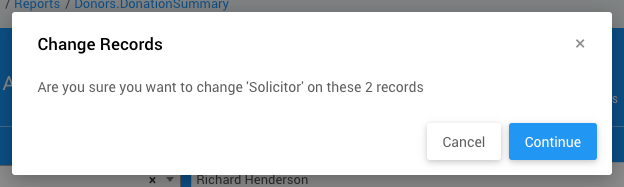
Click Continue.
If the field you changed was displayed on the view, the column will be immediately updated and you will see the changes that were made.
Tags should only use letters, numbers, hyphens (-), and underscore (_) characters. Entering a tag using a comma or space will create a tag from the letters before the comma or space and start another tag using the characters entered after the comma or space.
Although a tag cannot have spaces, you can use an underscore _ or a hyphen - to create a "separation" between multiple words in a tag, for example: another_tag or extra-tag. There is also the option to use camelCase for multi-word tags such as myGreatTagIdeaNumber1.
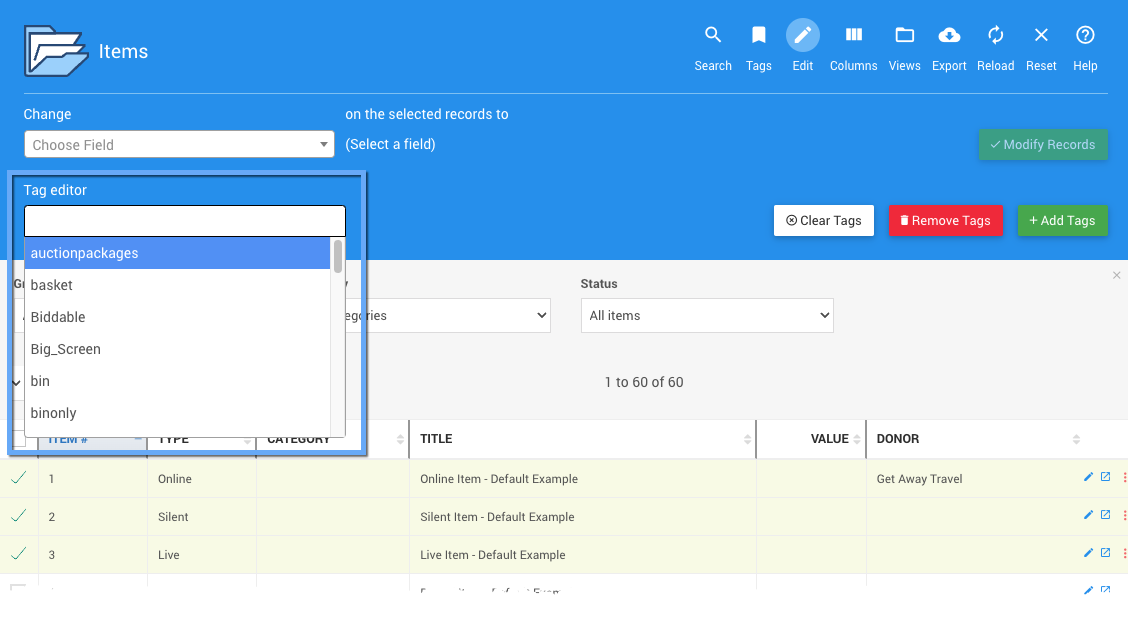
The Tag Editor can be used to quickly make bulk changes to Tags on multiple records from their respective relevant list reports.
You can also use the Rename Tags feature set under Tag Maintenance to rename or merge tags.
Auctria Pro-Tip from Launch Services!
If the number of records exceeds the number listed on the page you can increase this viewed list by adjusting the number of rows per page from the default 100.
Clicking in the Tag Editor text field will open a drop-down selector of existing Tags. You can type in a Tag name and it will start to auto-complete it if the Tag exists; or, it will begin creating a new Tag if it does not exist.
The Clear Tags option will remove all tags associated with the selected records.
![]()
A confirmation window will pop-up after the Clear Tags is clicked.
Click Continue to make the changes.
The Remove Tags option will remove the specified tags from the selected records.
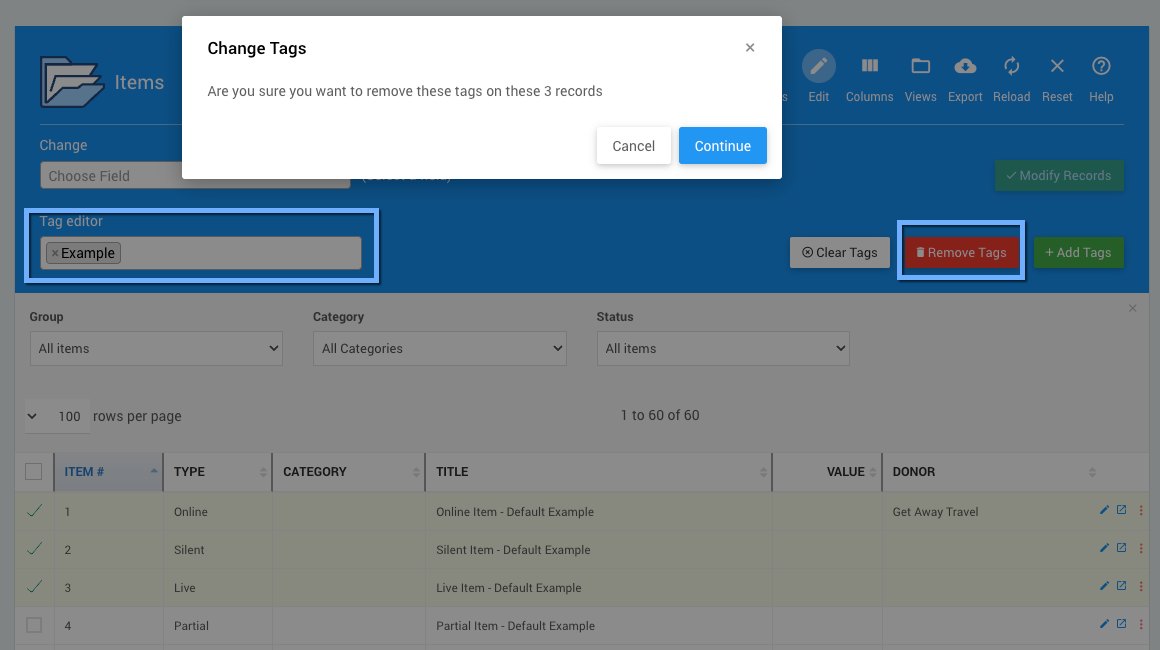
A confirmation window will pop-up after the Remove Tags is clicked.
Click Continue to make the changes.
The Add Tags option will add the specified tags to the selected records.
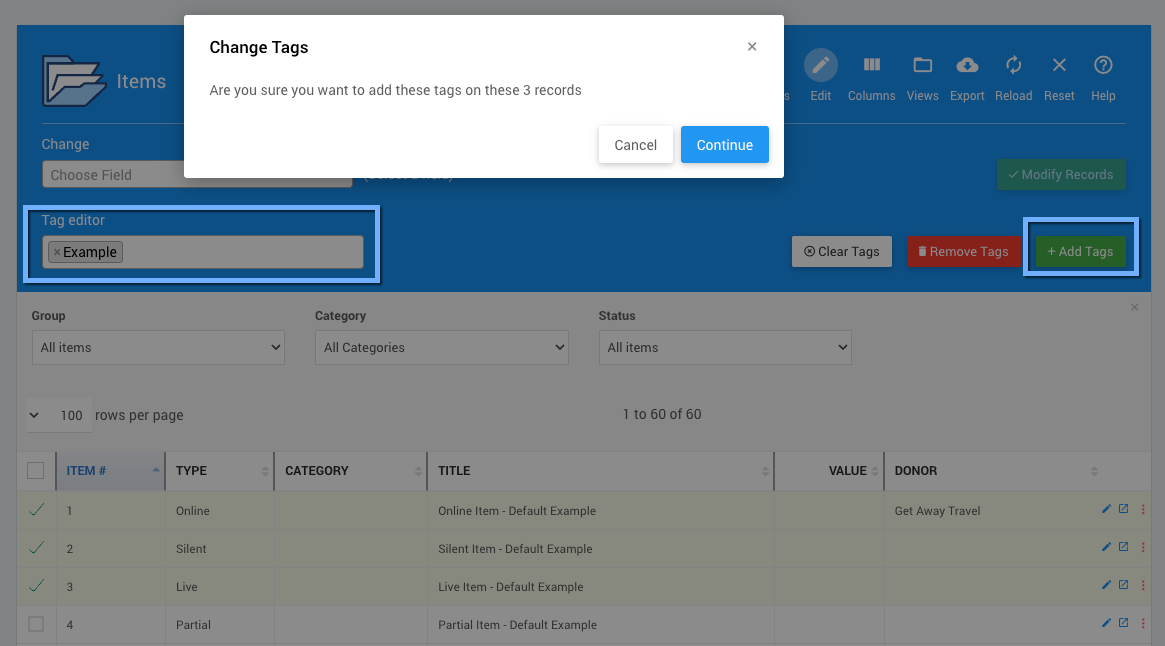
A confirmation window will pop-up after the Add Tags is clicked.
Click Continue to make the changes.
Recommended Reading
See Tag Maintenance in Organization sidebar for more information and management tools.
See below for some examples of how you could use the mass change editor.
# Toggling 'Exclude from Catalog' on all items
- How To Filter By Tags
Learn how to filter Auctria reports by using Tags. - Edit Reports
Managing and editing Auctria Reports filters and settings. - Select And Delete Multiple Records
Learn how to select more than one record at the same time in Auctria Reports. - Filter The Records Shown
Use the drop-down selectors to filter record results for Reports.

Last reviewed: December 2023